Step 11. Sketch in lightly the lines of the design in pencil. Fear not! If you go wrong you can always erase or repaint it white again.

Criss-cross design pencilled in.
Step 12. Paint the mask in your desired acrylic colours working from palest to darkest. Depending on the colour and quality of the paint you may need more than one coat.

Metallic white paint. I splashed out on this colour but it's so pretty.

Next I painted the red parts.

Finally the black. The black hides a multitude of sins so I painted the inside of the mask with it as well. It helps to hide the uneven surface.
Step 13. Glue gun the braid in place.


Glue braid all around the outside of the mask to finish off the design and cover the raw edges.
Step 14. Glue gun ribbons to the underside of the mask and hey presto you are done!!
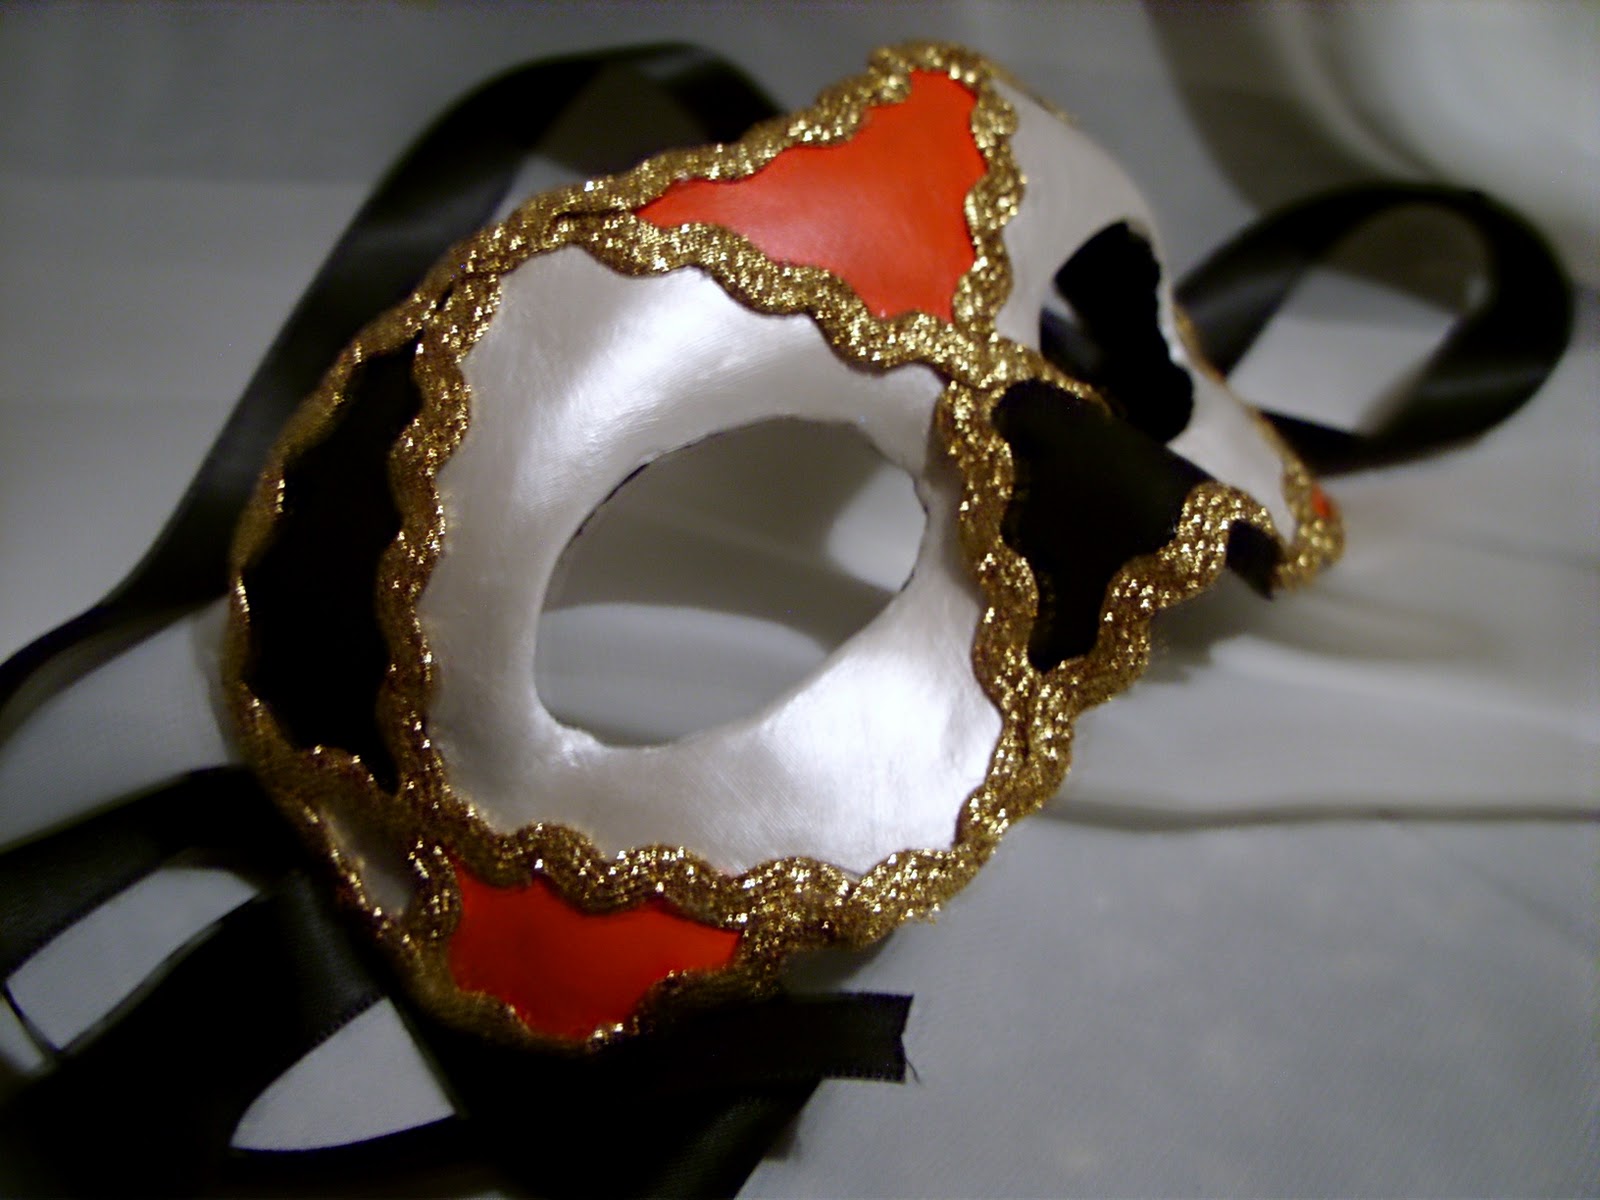
Finito :)
This is so gorgeous and I love to see how you used all the materials. And the end result will actually fit too. Fabulous! :)
ReplyDeletegenial
ReplyDeleteI made a mask a few months for a party (with help from a friend) and I'll be making another one later for a masquerade ball! Yay for easy mask-making guides!
ReplyDelete