I've been really naughty about blogging this year and I have fallen behind on my posts. Don't worry though I have given myself a firm telling off and promised I won't do it again. What this does mean is that I've made lots of lovely things to talk about, starting with this...
I made this belt when I had a sudden urge for a quick sewing project. I love the labour of a corset but sometimes it's nice to make something that you can whip up in an hour!
I happened to have red habutae silk on hand and it works well enough but I think it would be better in a richer/deeper colour.
Showing posts with label Red. Show all posts
Monday, 14 May 2012
Thursday, 5 January 2012
New Project: Pre-Raphaelite Inspired Corset
I have always adored the paintings of the Pre-Raphaelite Brotherhood and have been forever meaning to do something inspired by one or more of them. This project isn't so much inspired as it a direct homage to some of the gorgeousness those chaps put on canvas.
It's a bit of an experiment with printing, I've never used this technique before and I'm not quite sure how it's going to turn out - but that's part of the fun! I've used inkjet printing paper to transfer images onto a pale fabric. I'm using a strong off-white recycled curtain fabric which has a a very subtle floral design on it which I'm hoping will add to the overall texture.

I cut my own corset pattern for this project - I needed decent sized panels to do the images justice. Once I cut out my fabric I then began the task of collaging and building images onto the fabric. Getting an image to fit exactly onto a panel proved too fiddly so I used layering to fill in any tricky little gaps.
Here are the finished printed panels for the right side of the corset.
And these are the finished left panels.
The printing has the effect of giving the fabric a 'plasticy' feel with a glossy finish. The fabric now has much less natural flexibility so this could be interesting, I just hope it doesn't cause too much buckling as it comes together.
It's a bit of an experiment with printing, I've never used this technique before and I'm not quite sure how it's going to turn out - but that's part of the fun! I've used inkjet printing paper to transfer images onto a pale fabric. I'm using a strong off-white recycled curtain fabric which has a a very subtle floral design on it which I'm hoping will add to the overall texture.
I cut my own corset pattern for this project - I needed decent sized panels to do the images justice. Once I cut out my fabric I then began the task of collaging and building images onto the fabric. Getting an image to fit exactly onto a panel proved too fiddly so I used layering to fill in any tricky little gaps.
Here are the finished printed panels for the right side of the corset.
And these are the finished left panels.
The printing has the effect of giving the fabric a 'plasticy' feel with a glossy finish. The fabric now has much less natural flexibility so this could be interesting, I just hope it doesn't cause too much buckling as it comes together.
Thursday, 15 September 2011
Finished Project: The Aphrodite Gown
I have been a neglectful blogger but I have got lots of sewing done. The Aphrodite Gown is finished, it was pretty quick to do, the zip was probably the most arduous task. Here is the result!
The original plan was to have red fabric roses decorating the empire line seam but when I finished all the construction it just didn't feel like the right thing to do.
View of the dress from the side/back. I love the effect of the red underdress coming through the white chiffon.

Drapeyness at the back......yummy!
The original plan was to have red fabric roses decorating the empire line seam but when I finished all the construction it just didn't feel like the right thing to do.
View of the dress from the side/back. I love the effect of the red underdress coming through the white chiffon.
Drapeyness at the back......yummy!
Labels:
aphrodite gown,
chiffon,
dress,
Finished project,
habutae,
Red,
Satin,
silk,
white
Wednesday, 29 June 2011
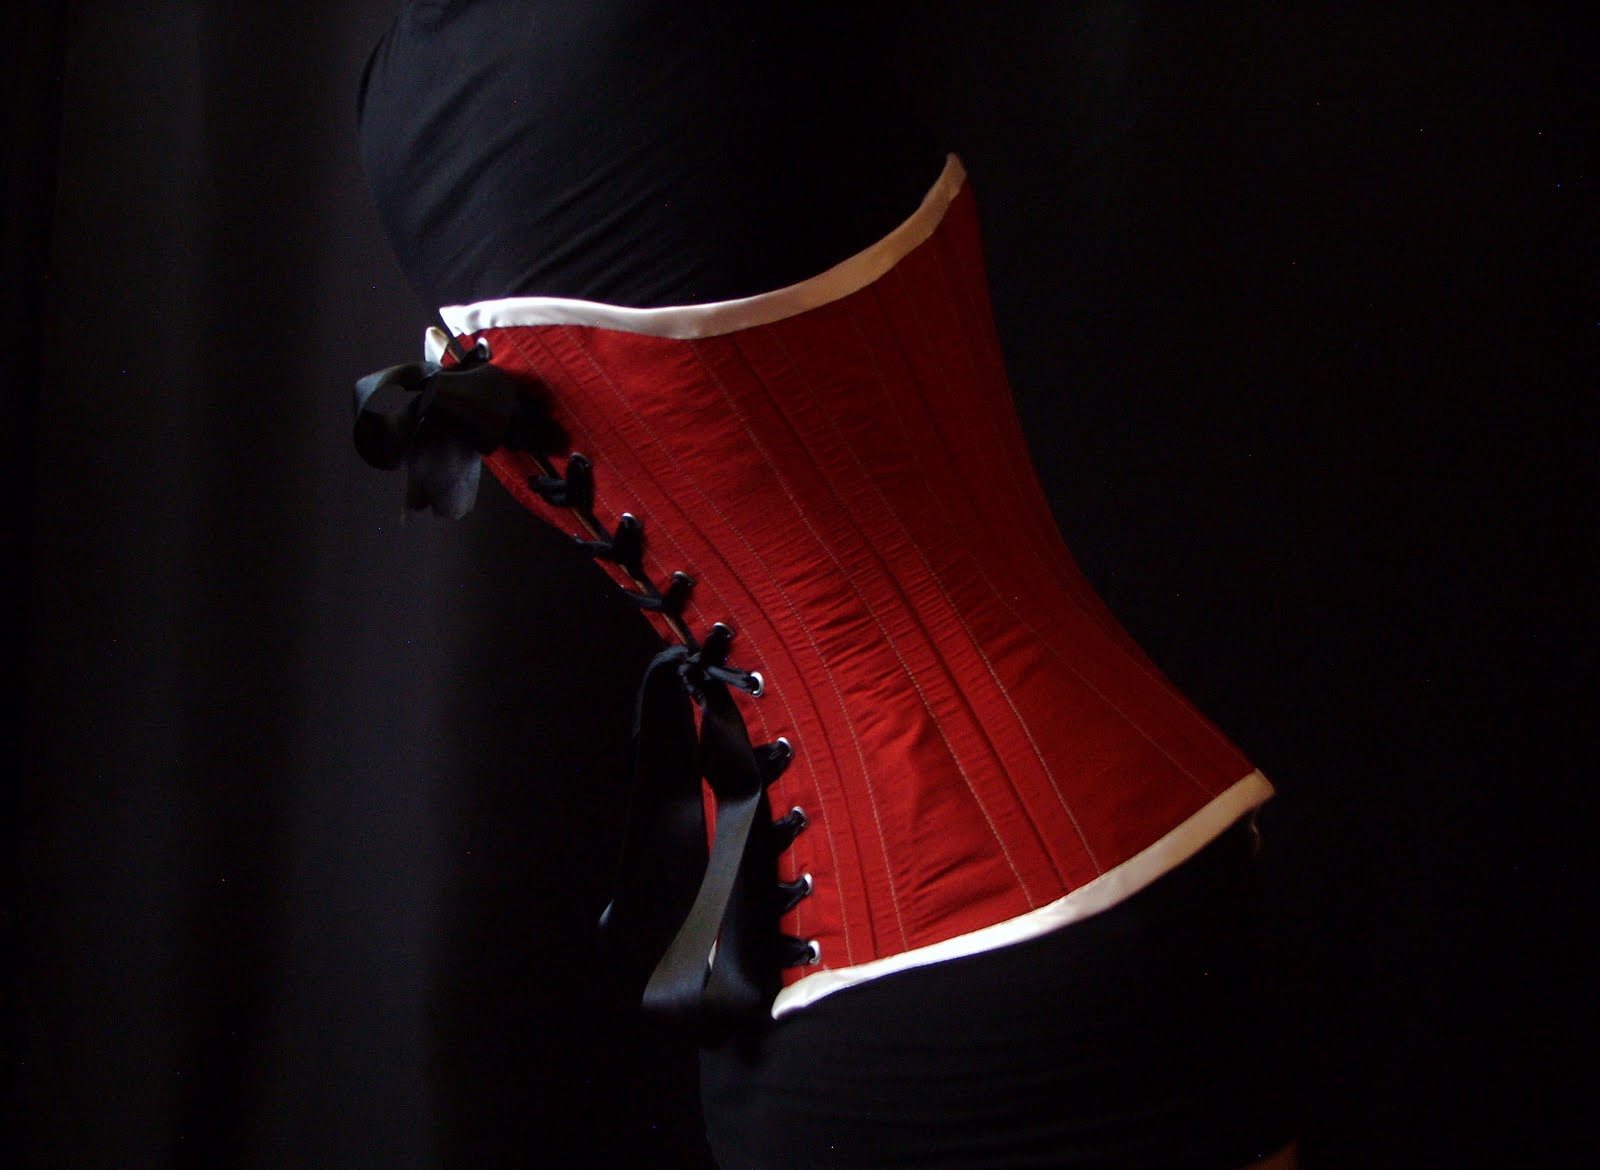
Finished project: Red Victorian Corset
I have finally finished my Victorian corset. I irritatingly ran out of steel before it was barely half boned, there is nothing worse than running out of materials when you are in the mood to sew.
I completely love how it turned out. After umming and ahhing over what colour bias binding to go with I thought white would really bring the red to life.
This is based on one of the simpler corsets from Jill Salen's book (Black and yellow flossed corset 1890-1900) The panels are straight forward, no gussets etc, so it would make a good starter project for a beginnner. It's nice and comfy to wear.

The corset as seen from a weird artistic angle.
In terms of improvement I need to tweak the pattern slightly, particularly around the hip, just to ensure total "snugification".
I completely love how it turned out. After umming and ahhing over what colour bias binding to go with I thought white would really bring the red to life.
This is based on one of the simpler corsets from Jill Salen's book (Black and yellow flossed corset 1890-1900) The panels are straight forward, no gussets etc, so it would make a good starter project for a beginnner. It's nice and comfy to wear.
The corset as seen from a weird artistic angle.
In terms of improvement I need to tweak the pattern slightly, particularly around the hip, just to ensure total "snugification".
Sunday, 26 June 2011
New project - Aphrodite Gown
I am embarking on another full length chiffon gown, this time inspired by the greek goddess Aphrodite. It's going to have a red satin underdress with white chiffon draped over it, plus hand made fabric roses arranged around the empire line.
Bodice front.
So far I have got the bodice sewn and fitted. The chiffon will be applied over the top and I will be going for a nice drapey, cowl effect across the front and back neckline.
The bodice back.
I will be draping the skirts separately from the bodice and bring the two together once all the chiffon is nicely sewn in place.
Bodice front.
So far I have got the bodice sewn and fitted. The chiffon will be applied over the top and I will be going for a nice drapey, cowl effect across the front and back neckline.
The bodice back.
I will be draping the skirts separately from the bodice and bring the two together once all the chiffon is nicely sewn in place.
Wednesday, 25 May 2011
Finished project - Poison Ivy hooded cape.
Last halloween I made a Poison Ivy costume for myself to wear to a party and this was the cape that went with it.
It's made from forest green and deep red polycotton. I wanted to make this as economically as possible as I needed 6 meters of each colour.
To make the cape a bit more interesting I machine embroidered trailing vines using a satin stitch up the entire length of the garment. Each panel was decorated separately before joining all the panels together. Once all the seams were sewn, including the hood, I then embroidered across the seams to ensure the pattern had good continuity across the cape.
I love capes with giant, oversized hoods!!
During the construction of this I thought, hey! this really should be reversible....... you know.......just in case....
It's made from forest green and deep red polycotton. I wanted to make this as economically as possible as I needed 6 meters of each colour.
To make the cape a bit more interesting I machine embroidered trailing vines using a satin stitch up the entire length of the garment. Each panel was decorated separately before joining all the panels together. Once all the seams were sewn, including the hood, I then embroidered across the seams to ensure the pattern had good continuity across the cape.
I love capes with giant, oversized hoods!!
During the construction of this I thought, hey! this really should be reversible....... you know.......just in case....
Labels:
Cape,
costume,
Embroidered,
Finished project,
Green,
Poison Ivy,
Red
Sunday, 15 May 2011
New project - red corset!
I have become corset obsessed!!! This one is based on one of the Victorian patterns in Jill Salens's book 'Corsets: Historical patterns and techniques'. The patterns in this book are easy to scale up as they are all drawn on grids.
This corset is made from three layers of fabric, you could use two though, as long as they were strong. Personally I prefer to use three, it just feels really sturdy and gives it extra structure. I had a scrap of rich red silk in my stash for the outer layer and quite a bit of gold satin left over from the Sirona gown for the lining. For the middle layer I just use whatever plain white-ish fabric I have lying around.

A photo of the busk in place.
The back panels with steel boning inserted either side of the seams.
This is how far I got before I ran out of steel! Argh!!!
This corset is made from three layers of fabric, you could use two though, as long as they were strong. Personally I prefer to use three, it just feels really sturdy and gives it extra structure. I had a scrap of rich red silk in my stash for the outer layer and quite a bit of gold satin left over from the Sirona gown for the lining. For the middle layer I just use whatever plain white-ish fabric I have lying around.
A photo of the busk in place.
The back panels with steel boning inserted either side of the seams.
This is how far I got before I ran out of steel! Argh!!!
Labels:
19th Century,
boning,
busk,
corset,
gold,
Jill Salen,
Red,
steel,
victorian
Subscribe to:
Posts (Atom)