The fiddliest bit of this project is the bodice draping. I think I spent around 2-3 hours pinning, adjusting, repinning and readjusting on the stand, trying to get the fabric to fall just right. Once I was happy with it I tacked it all firmly in place.
The bodice front with a drapey cowl, crossover thing going on. You can also see the skirts are pleated up and taking shape, they will also have a pleated chiffon overlay.
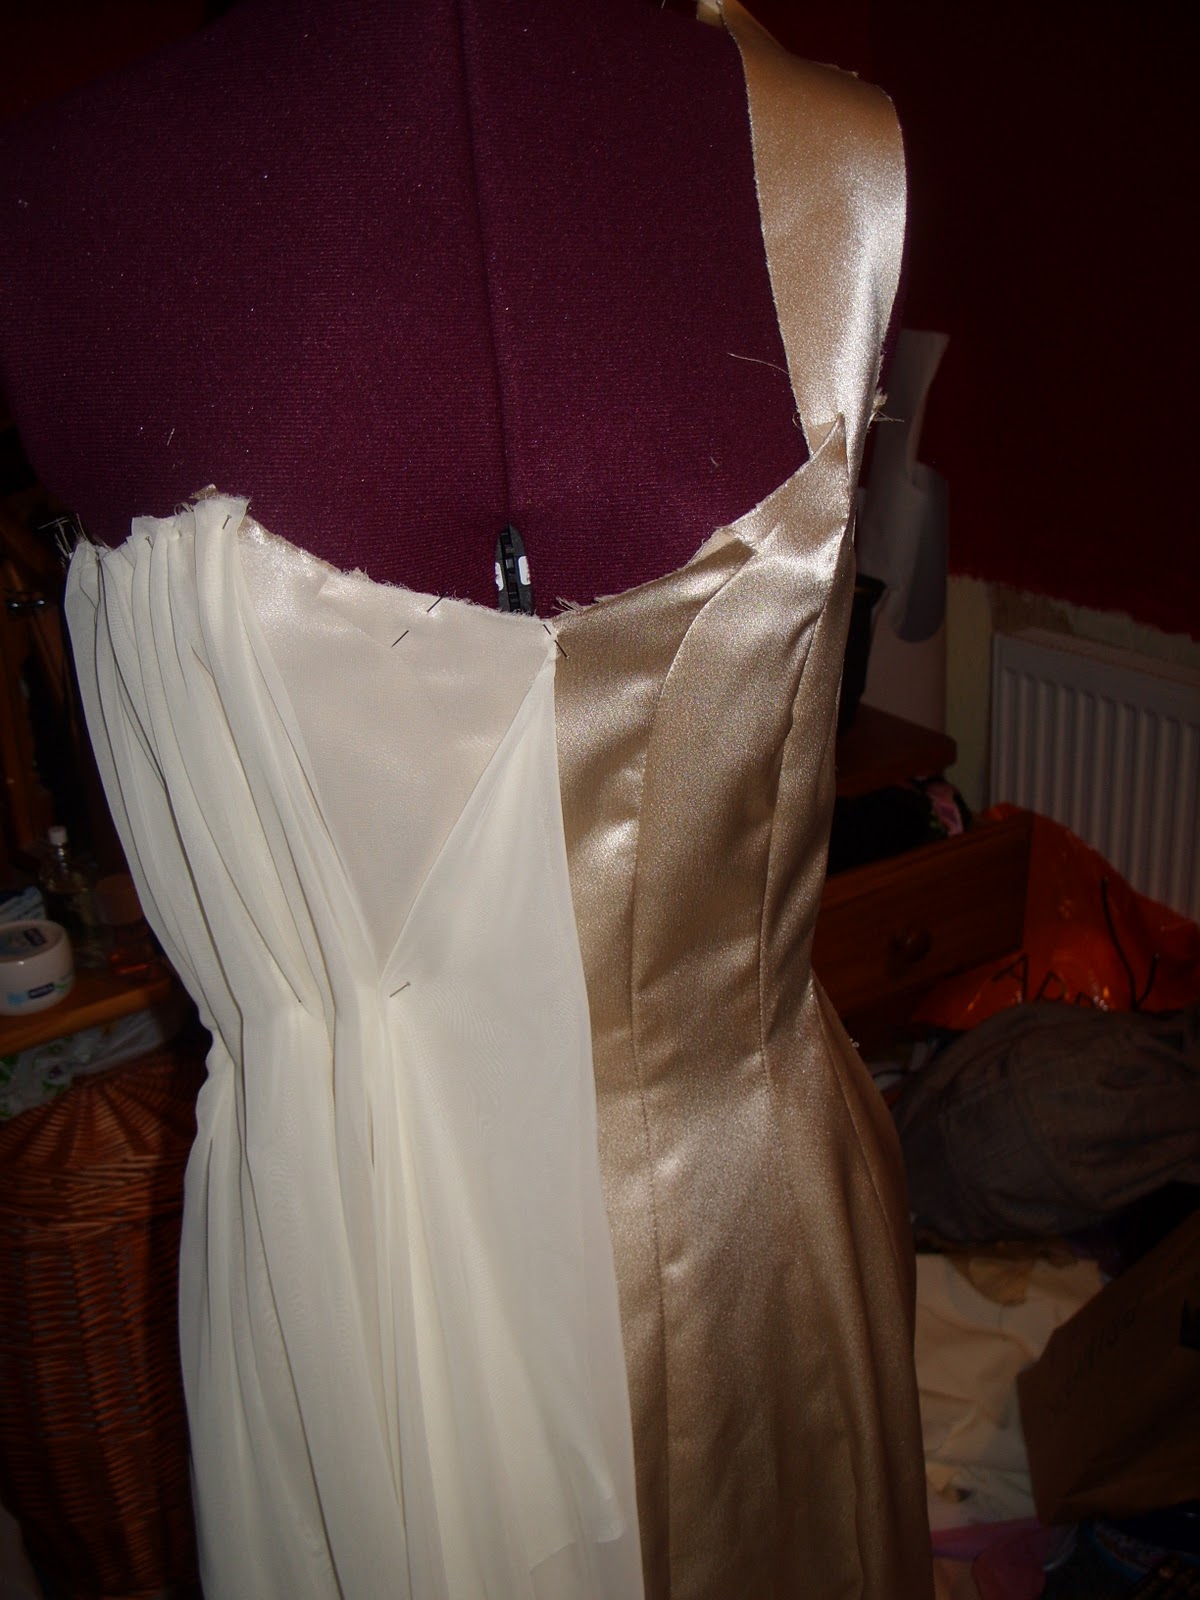
The bodice back which also has a cowl, drapey thing going on. The bodice is now ready to have the skirts attached and then I will be needing to insert a concealed zip. Unfortunately I live in a city which for some bizarre reason has a complete lack of concealed zips in all of the haberdashers. This means an adventure further afield where I will end up buying armfuls of fabric, trims and pretty what-nots instead of just the zip. Yay!
Showing posts with label Draping. Show all posts
Tuesday, 12 July 2011
Tuesday, 8 March 2011
Draping with chiffon - the Sirona Gown.
I don't do a lot of draping, I'm much more confident when it comes to flat pattern cutting but for this dress it was simply the best option so I plunged into unknown territory. I bought eight metres of cream chiffon for this dress and in the end I used about seven.

I started with the front and back of the dress pinned onto Claudia and worked from right to left gradually pleating and pinning the width of the chiffon in place along the neckline. Working like this there was enough chiffon to take me just past the centre front so I used the other end of the 8 metres to continue.

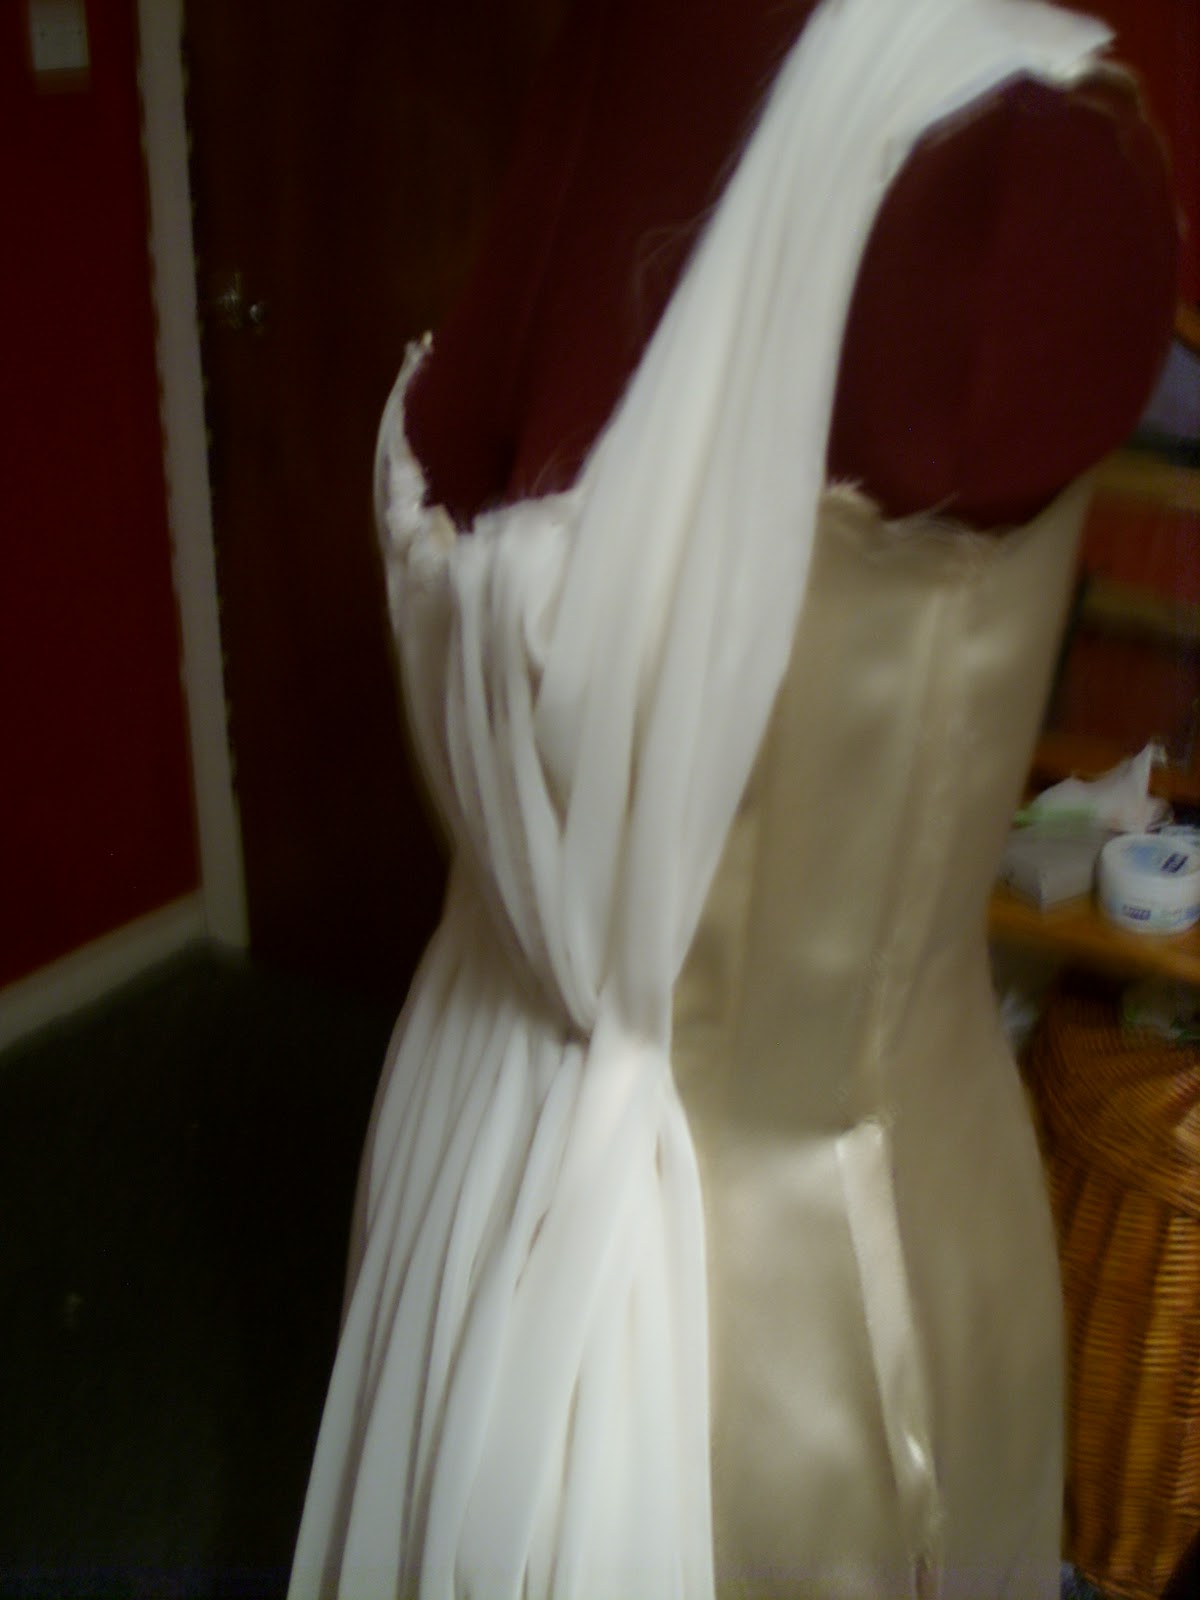
Taking the other end of chiffon I draped down the strap and back towards the centre front where they overlap.


Chiffon puddles!
At this point I had a good look at how it was going overall and felt safe enough to start cutting the hem. Once I had chopped the fabric at the hem I started pinning the chiffon in the same manner onto the back, working from right to left - towards the strap. When I ran out of width I used the other end of the length of chiffon once again to work down the strap towards the centre back.

The back!
The train taking shape.
From here I had the arduous task of removing the two parts of the dress from Claudia and inserting the concealed zip oh-so carefully into the side seam whilst trying to keep everything in place. Once that was done I sewed up the other side seam and finished the draping of the underarm panels.
This is the final shot I took of the chiffon pinned in place before I hand sewed all the little tucks, gathers, and pleats down.
I started with the front and back of the dress pinned onto Claudia and worked from right to left gradually pleating and pinning the width of the chiffon in place along the neckline. Working like this there was enough chiffon to take me just past the centre front so I used the other end of the 8 metres to continue.
Taking the other end of chiffon I draped down the strap and back towards the centre front where they overlap.
Chiffon puddles!
At this point I had a good look at how it was going overall and felt safe enough to start cutting the hem. Once I had chopped the fabric at the hem I started pinning the chiffon in the same manner onto the back, working from right to left - towards the strap. When I ran out of width I used the other end of the length of chiffon once again to work down the strap towards the centre back.
The back!
The train taking shape.
From here I had the arduous task of removing the two parts of the dress from Claudia and inserting the concealed zip oh-so carefully into the side seam whilst trying to keep everything in place. Once that was done I sewed up the other side seam and finished the draping of the underarm panels.
This is the final shot I took of the chiffon pinned in place before I hand sewed all the little tucks, gathers, and pleats down.
Labels:
chiffon,
Draping,
Fabric manipulation,
Sirona,
Sirona Gown,
Train
Sunday, 27 February 2011
The Sirona gown in gold satin.
That familiar feeling of slight trepidation always strikes just as I'm about to start cutting out in fabric. It's like a little voice in my subconscious 'Are you sure you want to take those very sharp scissors to this beautiful fabric?!'
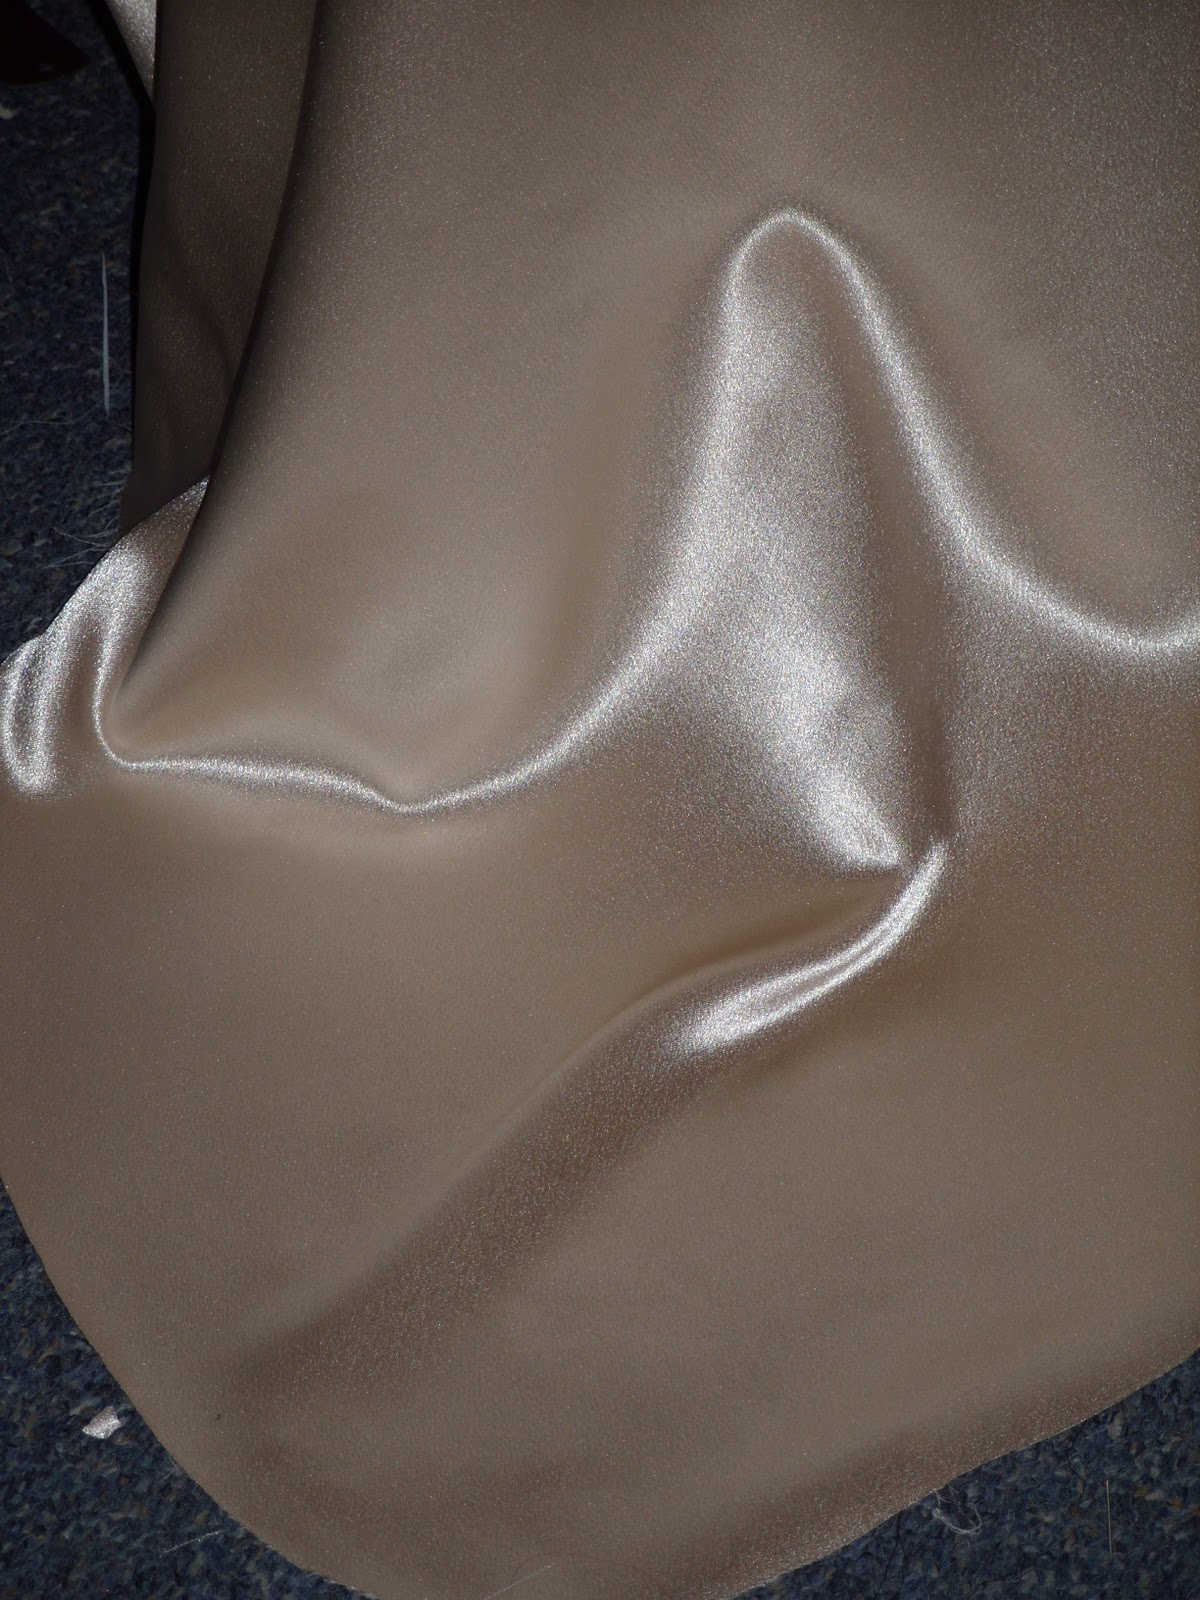
Crepe back satin or satin back crepe, depending on how you look at it, cuts and sews beautifully. It has a lovely weight that makes it easier to work with than a limper satin and it's pretty robust - generally speaking pins won't mark the fabric. I sewed the whole thing together, keeping one side seam open so I could wriggle into it just to be absolutely sure of fit before progressing any further. Only when i was certain that the dress was exactly right did I unpick the other side seam and shoulder seam thus separating the front from the back.
From here the fun can really begin. The next step is to drape the chiffon directly onto the gown. Yay!!!
Crepe back satin or satin back crepe, depending on how you look at it, cuts and sews beautifully. It has a lovely weight that makes it easier to work with than a limper satin and it's pretty robust - generally speaking pins won't mark the fabric. I sewed the whole thing together, keeping one side seam open so I could wriggle into it just to be absolutely sure of fit before progressing any further. Only when i was certain that the dress was exactly right did I unpick the other side seam and shoulder seam thus separating the front from the back.
The gown cut out in gold satin before I unpicked it again..
I couldn't help but think when I got to this point how great this could be if it was cut out on the bias.
The train.
A view of the side.
From here the fun can really begin. The next step is to drape the chiffon directly onto the gown. Yay!!!
Labels:
Draping,
gold,
Satin,
Sirona,
Sirona Gown
Subscribe to:
Posts (Atom)