Showing posts with label tudor. Show all posts

Monday, 12 July 2010

The Tudor corset is taking shape!


This is a partial toile - made up in a heavy calico. I'm not going to make it up fully, I just needed to be sure of the fit and that all the seams match. So far so good.

Saturday, 10 July 2010

Tudor Corset - Pattern Cutting.


This corset's intended fate is to end up under the Mary Boleyn dress. Sometimes I agonise over how I'm going to do something for ages when really, the best thing to do is have a go...and well, make it up as you go along. In the end I used my made to measure dress blocks as a guide - ignoring the darts, knocking off a few inches on the bust and waist and marking in new style lines as required. I have drawn in tabs along the waist line and the only place I have put seam allowance is on the side seams - all the other edges will be finished by bias binding.

Saturday, 3 July 2010

Tudor Hiproll - finished.


My finished hiproll. I stuffed it as firmly and evenly as I could - it helps to have a knitting needle handy. Then I hand sewed the end with ribbon tie in situ.


It's been a really fun and satisfying little project.

Wednesday, 23 June 2010

Tudor muslin chemise


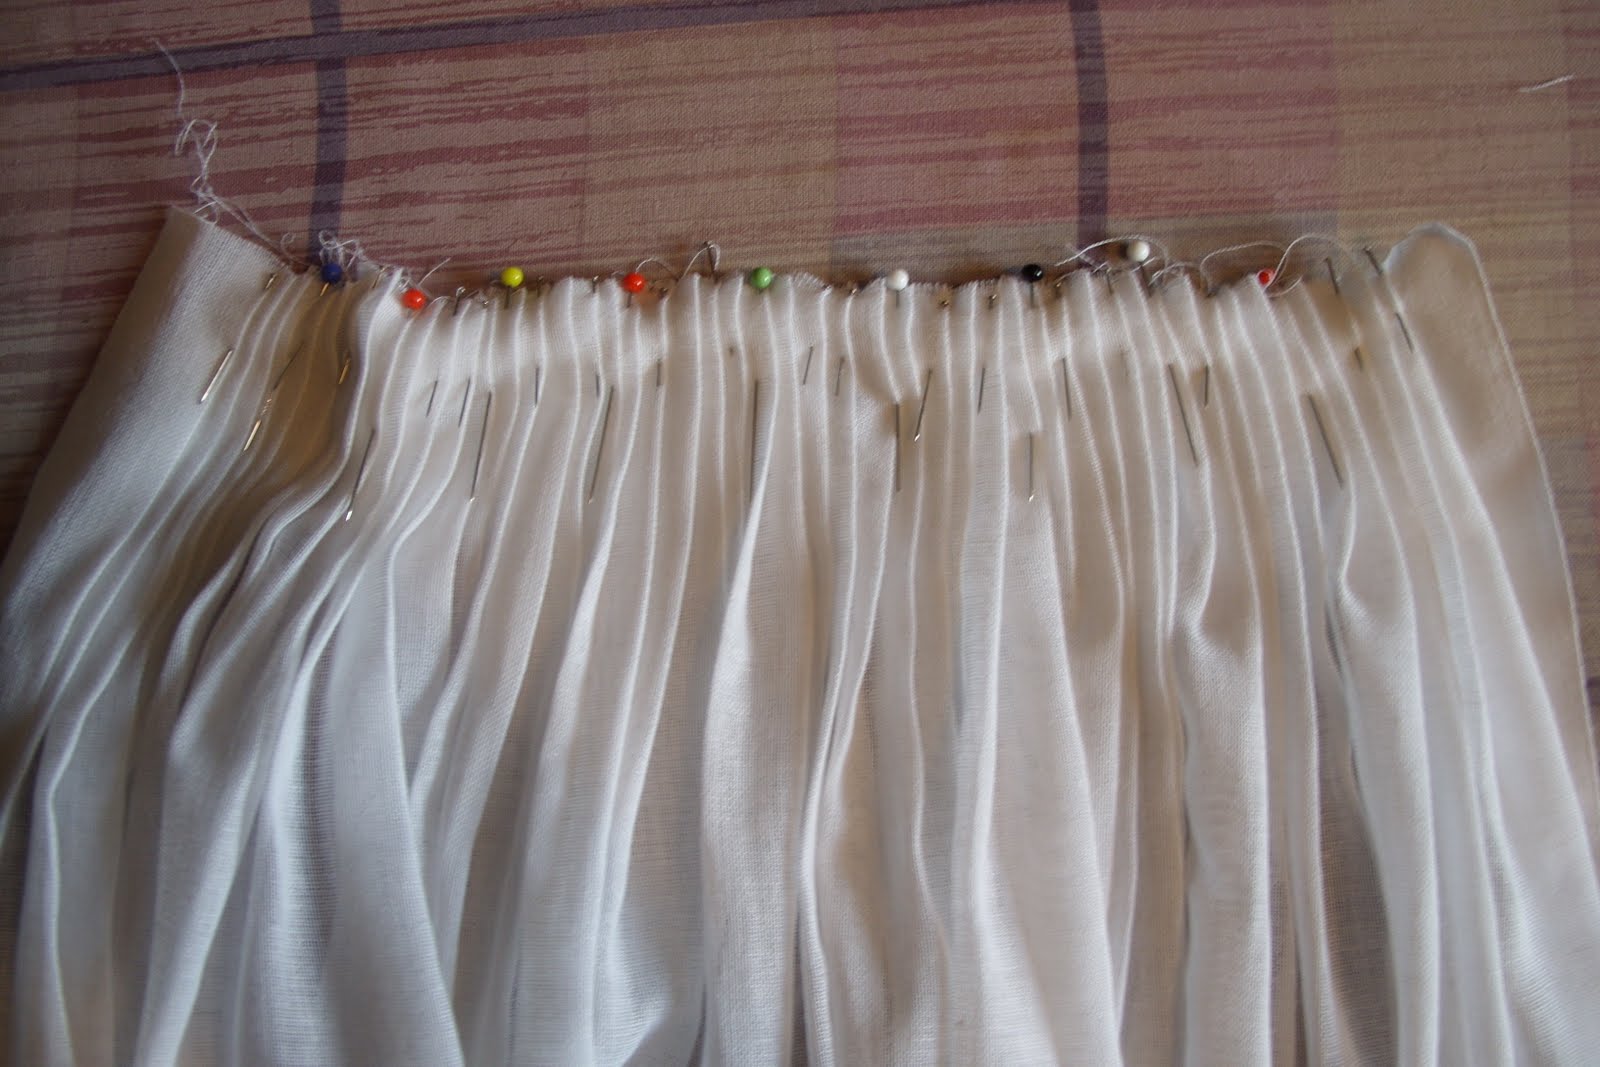
One of the pleated 62" panels of skirt.

I decided today was "get a move on with that chemise day"! I began by cutting my muslin into lengths for the skirts. It's empire line and I want it to be really full and floaty so I am using three lots of 62" width fabric. I pleated each section and hand stitched it all firmly into place. I have sewn the three panels together down the side seams leaving the centre back open at this stage. The next step will be for me to work on the bodice which will come together in a similar way. I am planning to add a gauzy trim to the neckline for extra prettiness.

Sunday, 20 June 2010

The Gold Mary Boleyn dress in more detail.


I have been looking closely at the embellishment down the front of the dress. The intricate design looks as though it may have been appliqued on and then stitched around with gold thread. Then there are the sequins which are mostly a deep, blackish gold or mother of pearl worked over the design with the same gold thread. What's bugging me is that there also appear to be the occasional red, blue or green coloured sequins and i'm wondering if thats just because the camera flash is causing the mother of pearl to catch the light and throw out a vibrant colour.

After much deliberation I decided to have a go recreating the design using reverse applique. I sketched out the central motif and used tracing paper to ensure symmetry. My version is not identical but it's close enough so that i'm happy with it.


Luckily I had some gold fabric to hand which should suffice for the purpose of testing this out. I layered up my fabrics; gold fabric on top, my darker colour fabric underneath plus a layer of scrap cotton on the back for extra stability. Then I pinned a photocopy of the design to the front and its ready to sew.


I managed to stitch about half the design today and I will have another crack at it tomorrow.

Saturday, 19 June 2010

The finished 'Juliet Angel' dress


After a very productive day here is the finished dress, it turned out great. It needs a few refinements - a slightly longer waist sash as I had to wrap it around me twice to get the right look in the end and ideally it needs fuller skirts.


Something else I am currently dabbling with is a muslin chemise. I have taken elements from various sources. The neckline and sleeves are inspired from one of the costumes from 'The Other Boleyn Girl' as I am toying with the idea of making the entire costume worn by Scarlett Johansson.


At first glance I thought this dress was obviously made of gold satin but after much zooming in and squinting I believe it is in fact made of an extremely lustrous gold velvet. I have no idea if I will be able to find/afford this sort of fabric so I may well settle for satin in the end.