Showing posts with label corset. Show all posts

Friday, 15 June 2012

Friday Eye Candy: Ribbon Corset

One thing I have yet to explore whilst on my sewing adventures is the ribbon corset.  I can't help but look at them with a sense of slight mystery as I need to get my head around what makes them tick.  I must add it to my increasingly long to-do list!


Anyway....this has got to be the prettiest ribbon corset I have ever seen.  It's constructed from silk floral ribbon, dated to 1900-5 and it lives in the Bath Fashion Museum.

Friday, 1 June 2012

Friday Eye Candy: Corset Laced Mannequins

I stumbled across these beauties the other day and I would love to own one.  Here is just one from their gorgous range.


*swoons*

If you like pretty dressforms I highly recommend you check out the other scrumptious designs at Corset Laced Mannequins

Thursday, 31 May 2012

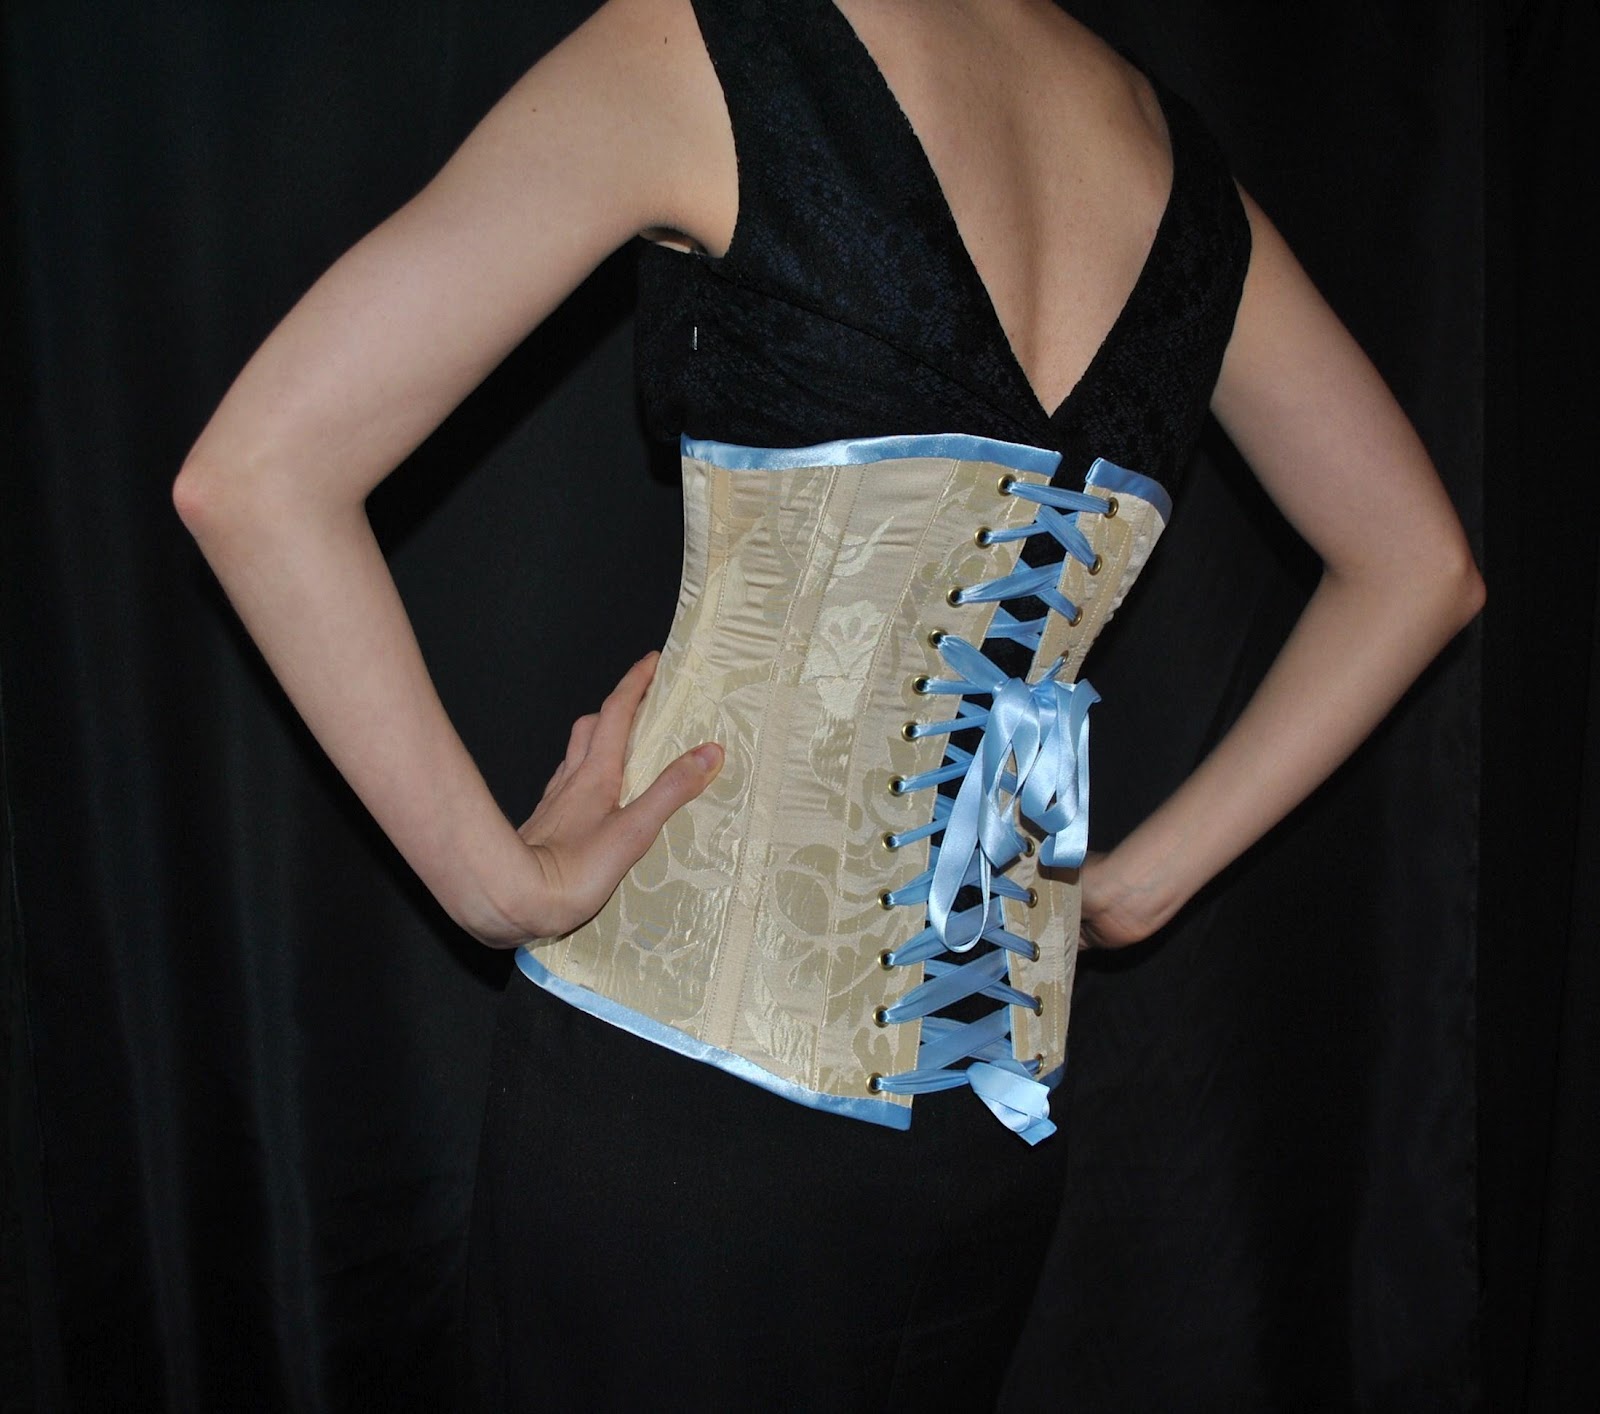
Finished Project: Discordia Underbust Corset

As I continue on my corsetry journey, which has basically been trial and error with a bit of help from books and helpful tidbits from the internet, I think I am now finally getting a really good grip on the pattern cutting aspect of it all.  This corset was another step on the ladder.


It's a long underbust cut to be very flat across the centre front but with lots of defintion on the waist.


 I made this one out of recycled gold furnishing fabric with a pale blue lining, binding and ribbon.  Then I added an extra bow to sit on the front for added prettiness.

Wednesday, 9 May 2012

Finshed Project: Purple and Gold Underbust Corset

Just a quick post about a new corset I made.  I cut it to come down nicely over the hips wtith simple, no fuss panels so I thought I would have some fun with the colours.


The finished corset has a 24" waist.


 As you can see I finshed this one with black ribbon and bias binding.  I'm very happy with this one and I am planning to grade it into different sizes.

Tuesday, 20 March 2012

Finished Project: Alice in Wonderland Underbust Corset

This is a variation on the Pre-Raphaelite corset I made using the same pattern.


I had a lot of fun with this, playing around with the text, trying to create a feeling of whimsy.

Saturday, 25 February 2012

Finished Project: Pink and Silver Butterfly Corset

The most fatal thought when sewing must surely be "the hard parts done, the rest should be plain sailing........".  followed shortly by "D'oh!".  Maybe it's just me but if dare to think that a project is going really well, it's like asking for trouble.

It turns out that sewing delicate filigree wire with fairly delicate silver thread onto the surface of fabric which has steel boning in it is not 'plain sailing'...but I got there in the end.


View of the front-ish.


View of the back-ish.


And a close-up!

Saturday, 18 February 2012

New Project: Pink and Silver Butterfly Corset

As part of my ongoing quest to improve my corsetry skills, my latest mission has been to draft a pattern for a simple six panelled overbust corset from my basic dress block.  I did a quick toile to make sure there were not any glaring errors and then moved onto phase two which involved some pretty pink fabric from my stash....


The perils of flash photography - it's a little bit shinier than in reality!

I thought it would be fun to incorporate my printing technique from my last corset (the Pre-raphaelite underbust) as well as some wire applique.


My method for bringing the design together across the front was a bit precarious to say the least.  I positioned my wire filigree and took loads of photos to document their position on the corset.  Then I had to carefully maneuver the corset around whilst applying the butterfly print.


Once the butterflies were set I could then place and sew each piece of filigree wire down.  A bit of a fiddly job but it was worth it and I will show you the results in my next post.

Sunday, 8 January 2012

Finished Project: Pre-Raphaelite Inspired Underbust Corset

Ok, so there was a brief, panic-filled moment during construction, when I genuinely believed this corset was going to be a complete failure.  The further I went with it, the worse the weird, plasticy buckling effect got but once I put in on, it behaved itself.


And there was much rejoicing........


I'm completely thrilled at the way this turned out and now I can't stop thinking of all the interesting ways this technique could be used.


I'm wondering whether this could be pulled off a bigger scale....say 18th Century stays! Hmmm............

Thursday, 5 January 2012

New Project: Pre-Raphaelite Inspired Corset

I have always adored the paintings of the Pre-Raphaelite Brotherhood and have been forever meaning to do something inspired by one or more of them.  This project isn't so much inspired as it a direct homage to some of the gorgeousness those chaps put on canvas.

It's a bit of an experiment with printing, I've never used this technique before and I'm not quite sure how it's going to turn out - but that's part of the fun!  I've used inkjet printing paper to transfer images onto a pale fabric.  I'm using a strong off-white recycled curtain fabric which has a a very subtle floral design on it which I'm hoping will add to the overall texture.


I cut my own corset pattern for this project - I needed decent sized panels to do the images justice.  Once I cut out my fabric I then began the task of collaging and building images onto the fabric.  Getting an image to fit exactly onto a panel proved too fiddly so I used layering to fill in any tricky little gaps.


Here are the finished printed panels for the right side of the corset.


And these are the finished left panels.

The printing has the effect of giving the fabric a 'plasticy' feel with a glossy finish.  The fabric now has much less natural flexibility so this could be interesting,  I just hope it doesn't cause too much buckling as it comes together.

Monday, 24 October 2011

Finished Project: Steampunk Underbust Corset

This is my fourth and final version of this corset and it's also my absolute favourite!  I just love how well it turned out.


I'm not normally one for worrying too much about pattern matching when cutting out fabric but I took the time to align the stripes in an interesting and symmetrical way and it adds so much to the finished piece.  The fabric is recycled from a pair of taupe and cream curtains.  I used some rich brown bias binding that I had in my stash and the chains were from a cheap necklace I picked up at Primark specifically so i could take it apart.

A while ago I started work on another pair of 18th Century stays that ended up languishing in a corner because of bias binding issues but now I'm determined they will haunt me no longer....

Wednesday, 12 October 2011

Finished Project: Green and Gold Embroidered Underbust.

This is another variation on Jill Salens Victorian Underbust constructed from recycled green curtain fabrics lining and all!


After flatlining each panel I machine embroidered up the middle of each panel being careful to avoid sewing too close to the edges - leaving space for the seam allowance and boning channels.  I then fully constructed this corset using cable ties for boning and black satin bias binding to finish the raw edges.


The very last touch to this corset was to sew on the lace applique flowers to each machine embroidered 'stalk'.

Sunday, 17 July 2011

Finished Project: Blue Striped Underbust Corset

I loved making my little underbust corset and I thought it would be a a great canvas for trying out new ideas.  

 This is the first, made from two shades of blue dupion cut in alternating panels to create a striped effect.


I used steel to bone this and actually I think I prefer cable ties.  My pale blue and gold underbust gives slightly better waist shaping!  Maybe it has something to do with the flexibility of the cable ties?


For my next version of this corset I'm planning on incorporating some embroidery.

Wednesday, 29 June 2011

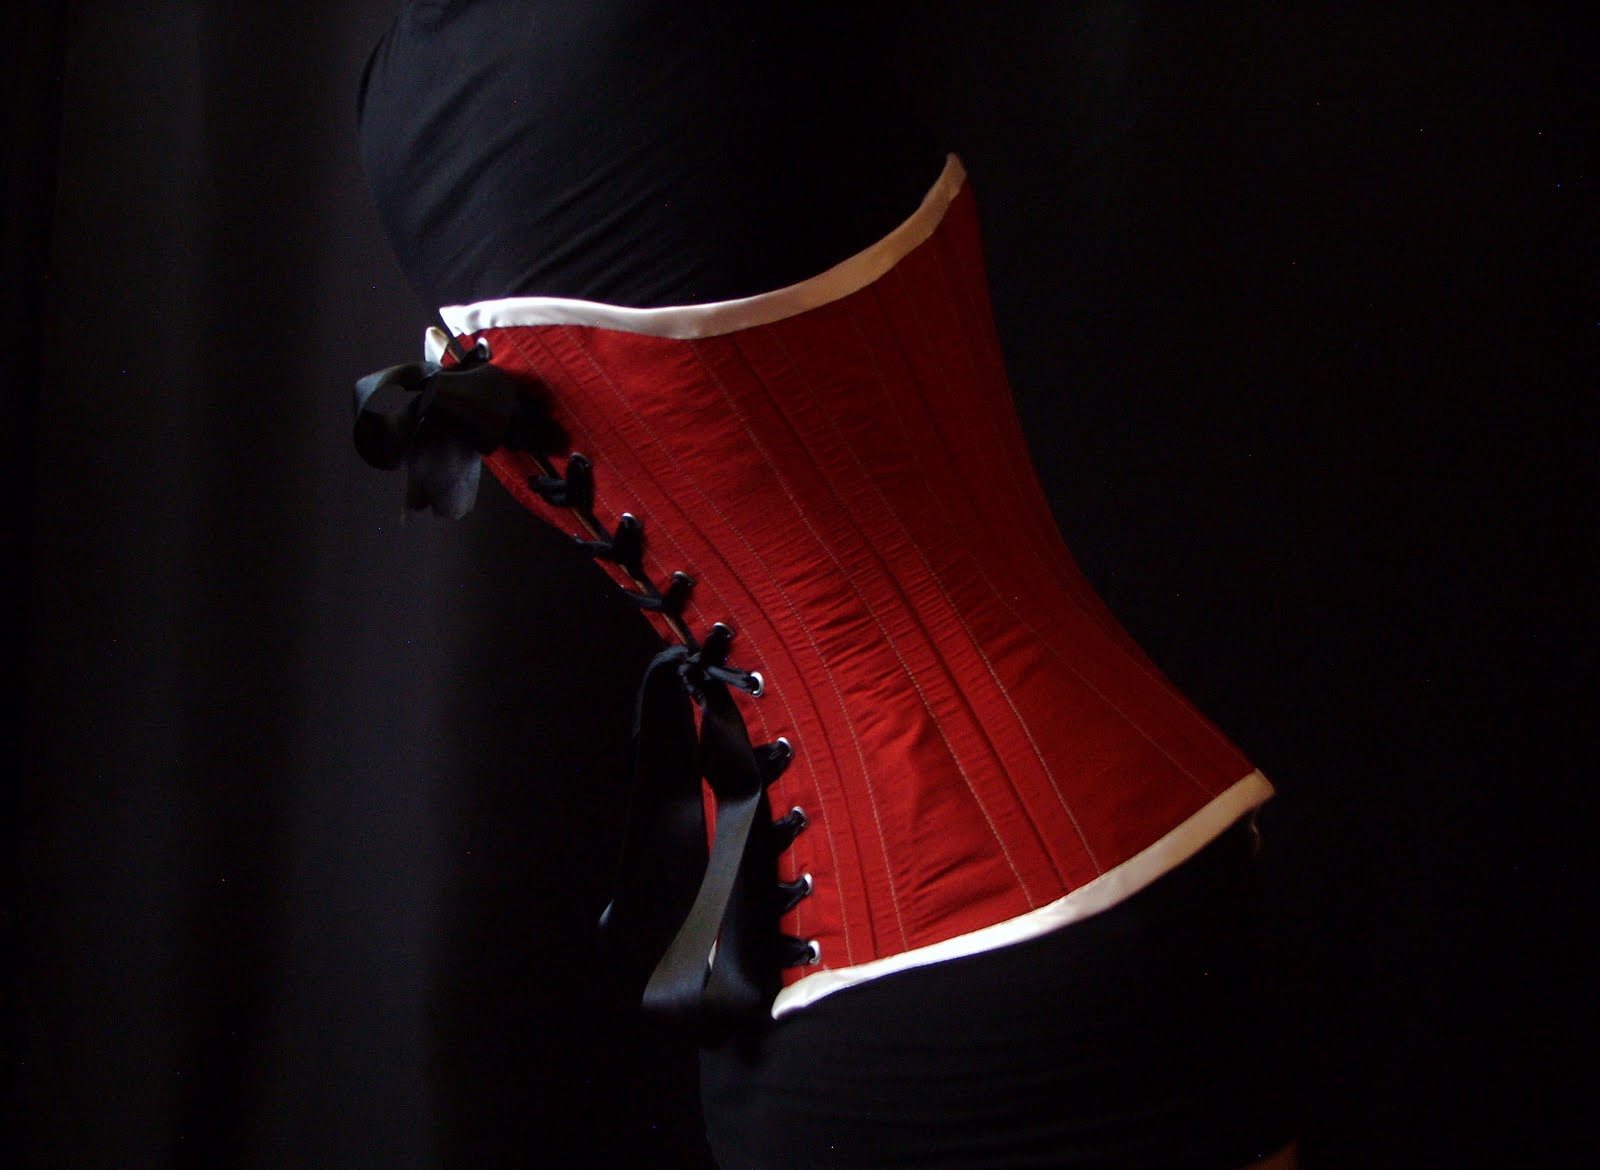
Finished project: Red Victorian Corset

I have finally finished my Victorian corset. I irritatingly ran out of steel before it was barely half boned, there is nothing worse than running out of materials when you are in the mood to sew.


I completely love how it turned out.  After umming and ahhing over what colour bias binding to go with I thought white would really bring the red to life.


This is based on one of the simpler corsets from Jill Salen's book (Black and yellow flossed corset 1890-1900)  The panels are straight forward, no gussets etc, so it would make a good starter project for a beginnner. It's nice and comfy to wear.


The corset as seen from a weird artistic angle.


In terms of improvement I need to tweak the pattern slightly, particularly around the hip, just to ensure total "snugification".

Wednesday, 8 June 2011

Finished project: German Austerity Corset

I have made another corset based on Jill Salen's book 'Corsets: Historical Patterns and Techniques'.  It's the German Austerity Corset, 1917.  Due to wartime shortages this one was designed to use as little fabric as possible, one layer, with the bones inserted into machine fell seams. However I decided to make it up my usual way with three layers.


The corset spread out flat. 

I used recycled curtain fabric, black satin bias binding and 5.5mm width spring steel for the boning.  This was the first time I have used such narrow steel and the jury is still out on it.  Although it was cheaper I think I prefer the shape and support of 13mm steel.


Corset from the front. 

It's an unusual shape,  it comes just up under the bust and comes down over the hips.


I'm not as in love with it as I thought I'd be but it was still fun to make :)

Saturday, 28 May 2011

Finished project: Underbust Corset.

Here is the finished corset - I'm really happy with it.  Whilst making it I kept looking at it and thinking it was out of proportion but my fears were unfounded!


I scraped together all the leftover scraps of fabric to make the little bow.  If there's anything I can't bear it's wasted fabric.


Saturday, 21 May 2011

New project - underbust corset.

What's the best thing to do if you run out of steel boning half way through making a corset? Answer: start another one of course!!!


It's a dainty little underbust corset from Jill Salen's book. I only had a narrow strip of this fabric, rescued from a remnant bin in a furnishing shop and it was just enough to make this corset.  It took a bit of maneuvering to persuade all the pattern pieces to fit on mind you!


I need to buy a busk for the centre front but that's the only steel this corset requires.  The original was whale boned so I used cable ties either side of each seam.  It still surprises me how robust and effective cable ties are!

Sunday, 15 May 2011

New project - red corset!

I have become corset obsessed!!! This one is based on one of the Victorian patterns in Jill Salens's book 'Corsets: Historical patterns and techniques'.  The patterns in this book are easy to scale up as they are all drawn on grids.


This corset is made from three layers of fabric, you could use two though, as long as they were strong. Personally I prefer to use three, it just feels really sturdy and gives it extra structure.  I had a scrap of rich red silk in my stash for the outer layer and quite a bit of gold satin left over from the Sirona gown for the lining.  For the middle layer I just use whatever plain white-ish fabric I have lying around.


A photo of the busk in place.


The back panels with steel boning inserted either side of the seams.


This is how far I got before I ran out of steel!  Argh!!!

Thursday, 15 July 2010

Victorian corset - take two!


This is the second attempt, re-drafted, re-cut and re-sewn from scratch. It's definately an improvement on it's predecessor.


There are still a few tweaks needed, i've pinned the excess out of the bust and the pattern will need to be adjusted accordingly. This is ready for a full scale attempt now.

Wednesday, 14 July 2010

Victorian corset mock up.


This is the first mock up to test out the pattern for this corset. There is quite a bit that needs correcting on it. Looking at it, it feels as though it's lost it's 'Victorian-ness'. The neckline needs tweaking and I need to add some fabric back in at the bust to balance it out a bit and give it back its curves. Also, I need to take out a bit of fabric on the hip on the front of the corset to flatten it against the body better. Second draft here I come........

Victorian Corset - 1892

I'm embarking on another corset, this time Victorian. I have used my trusty copy of 'The Evolution of Fashion' to get the basic style lines and silhouette. Interestingly the book suggests inserting elastic panels in various places below the waist line, which struck me as a little unusual. It's not something I have come across before and after ten minutes of Googling, I believe in late Victorian times, it was common for athletic corsets to have elastic panels for a little extra breathing room! So, I've done away with all that and redrafted ordinary panels.


Also, the bust and hip measurements were mysteriously generous so I've slimmed them down considerably. This is the final draft of the pattern and the next stage will be to make a mock up to check for mistakes.