Showing posts with label pattern cutting. Show all posts

Thursday, 31 May 2012

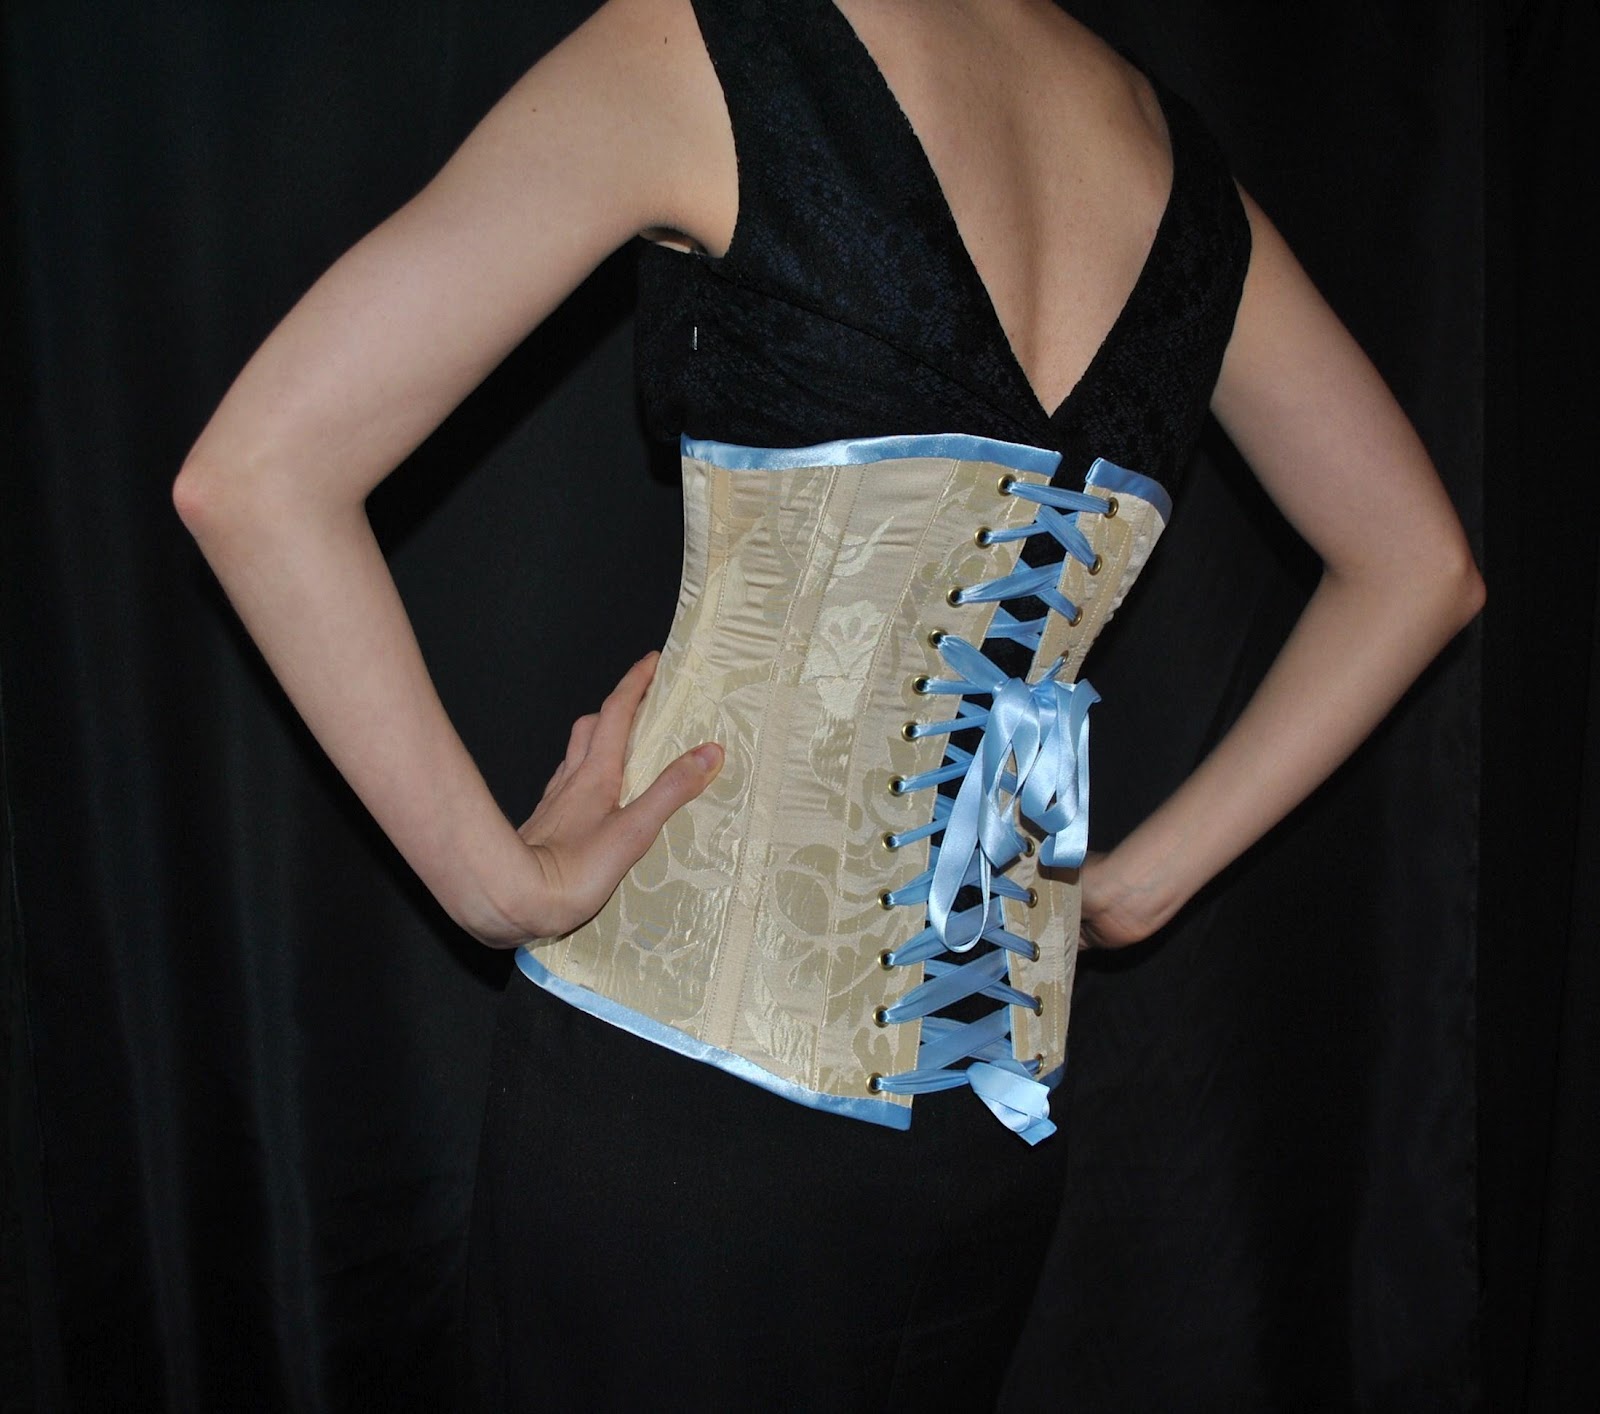
Finished Project: Discordia Underbust Corset

As I continue on my corsetry journey, which has basically been trial and error with a bit of help from books and helpful tidbits from the internet, I think I am now finally getting a really good grip on the pattern cutting aspect of it all.  This corset was another step on the ladder.


It's a long underbust cut to be very flat across the centre front but with lots of defintion on the waist.


 I made this one out of recycled gold furnishing fabric with a pale blue lining, binding and ribbon.  Then I added an extra bow to sit on the front for added prettiness.

Saturday, 18 February 2012

New Project: Pink and Silver Butterfly Corset

As part of my ongoing quest to improve my corsetry skills, my latest mission has been to draft a pattern for a simple six panelled overbust corset from my basic dress block.  I did a quick toile to make sure there were not any glaring errors and then moved onto phase two which involved some pretty pink fabric from my stash....


The perils of flash photography - it's a little bit shinier than in reality!

I thought it would be fun to incorporate my printing technique from my last corset (the Pre-raphaelite underbust) as well as some wire applique.


My method for bringing the design together across the front was a bit precarious to say the least.  I positioned my wire filigree and took loads of photos to document their position on the corset.  Then I had to carefully maneuver the corset around whilst applying the butterfly print.


Once the butterflies were set I could then place and sew each piece of filigree wire down.  A bit of a fiddly job but it was worth it and I will show you the results in my next post.

Wednesday, 16 February 2011

Sirona Gown - progress.

I cut my pattern out in polycotton to check the fit and make sure I hadn't made any errors when pattern drafting.  Everything matched up and it only needed a few tweaks to the fit here and there which I transfered over to my paper pattern.  As there were not any drastic changes it means I will be able to use this as the lining - this made me super happy as I despair at wasting fabric.


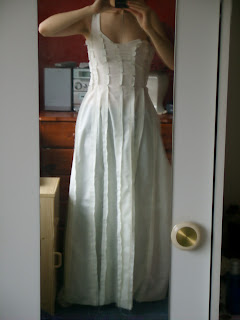
Dress from the front before slight changes to the fit were made.  I needed to tighten it up around the bust and waist to an exetremely close fit, to prevent the dress from slipping on the strapless side.
 

The back -  it has a little train!

I can't wait to cut this out in my satin fabric - the colour is called latte - a very pretty pale gold.


Saturday, 27 November 2010

Fairytale chiffon dress - bodice toile.

I spent today sewing the toile of the bodice - a good thing too because I'm not at all happy with it. It's just a bit........................clunky!


It came together nicely - all the bits and pieces fit where they should but it doesn't match the image I had in my head. Back to the drawing board!


I have drafted a entirely different pattern from scratch. This isn't something I would usually do or recommend in pattern cutting but in this case it felt like I needed a clean slate. I used my dress block as a starting point rather than the bodice block this time. I've altered the shape of the straps over the shoulder and the curve of the neckline. There are more panels - so more versatility for fitting and hopefully a more streamlined finish.

Thursday, 25 November 2010

18th Century petticoat update and the beginning of a new dress

I started this petticoat a while ago but then things got too busy to do any further work on it. I've finally dug the poor thing out of the bag it was languishing in and given it some much needed attention. This is what the petticoat looks like so far - unfortunately it's rather large and difficult to get a photo of it all in one shot.


This is the back - you can see where it fastens at the waist with ribbons.


The front view - which is should hopefully hang smoothly when I'm finished with it. The outward length over the panniers is adustable by pull cords so it could in theory fit over a set of smaller panniers. All that remains is to sew in the pleated side panels and finish the hem.

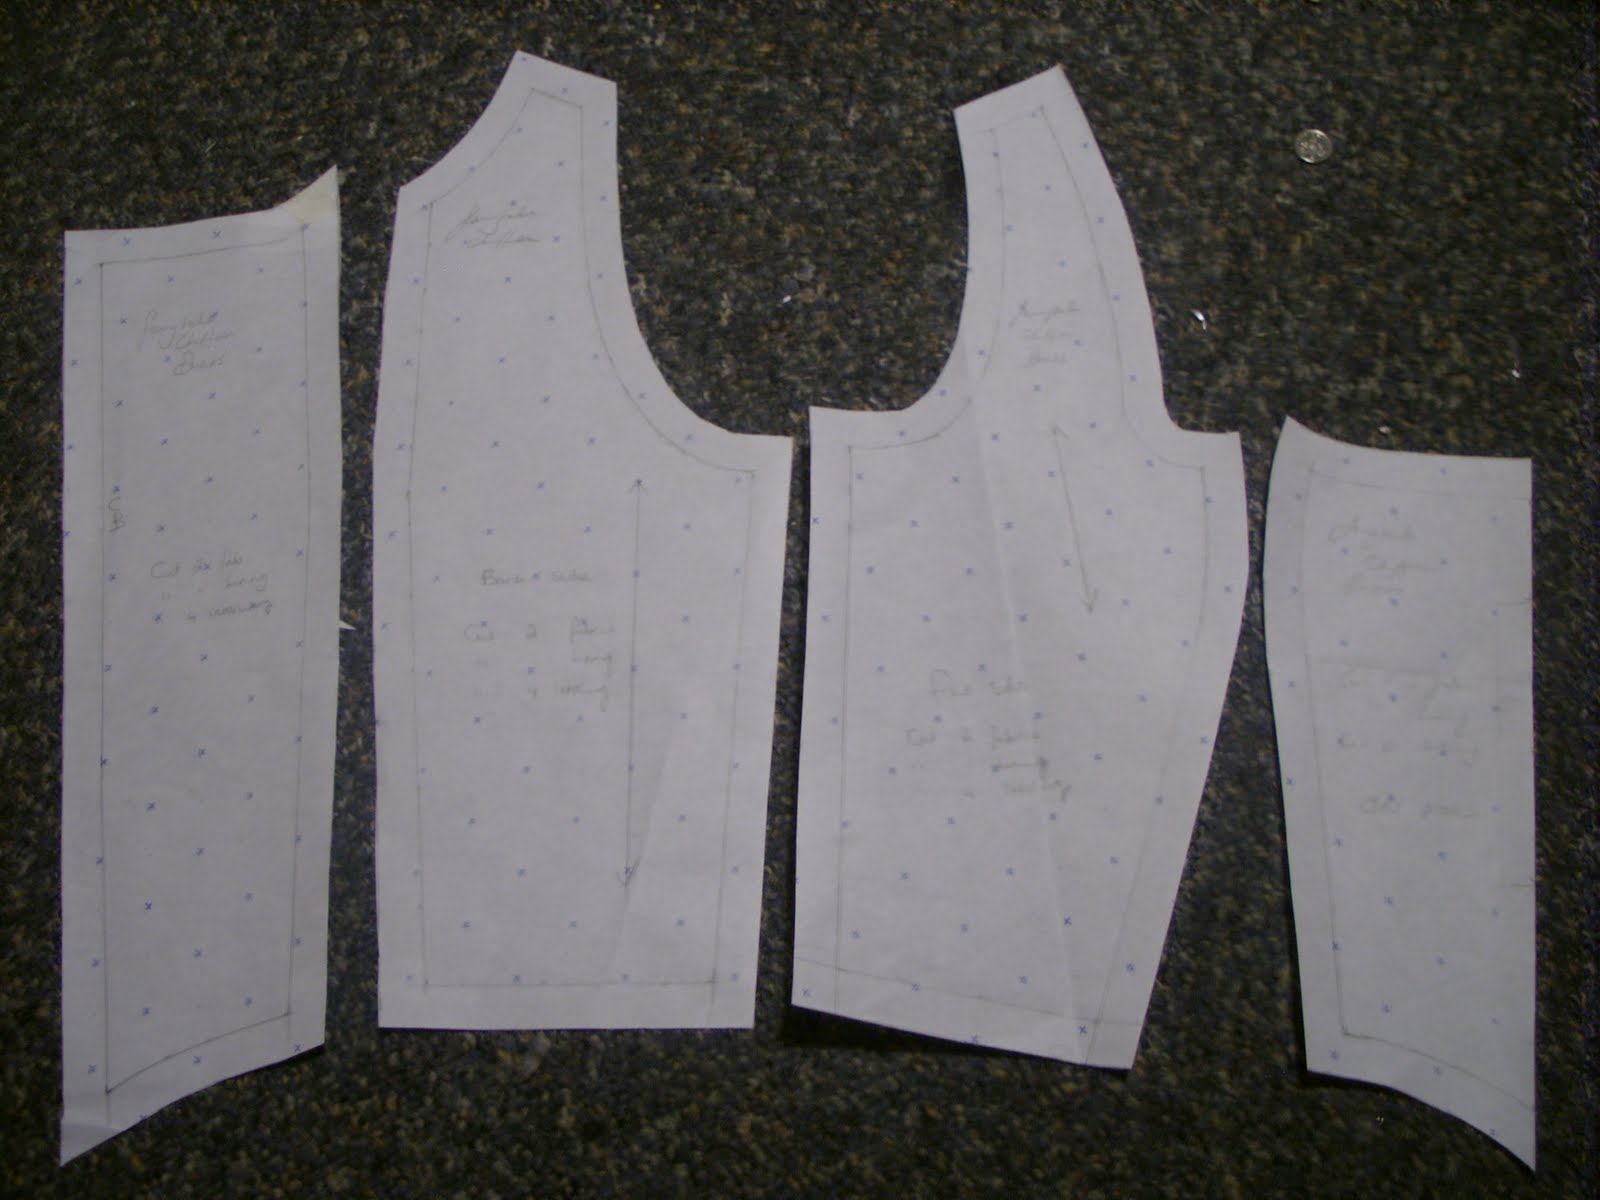
I have also started cutting a pattern for a new dress, which I have for now nicknamed the "fairytale chiffon dress". This is the final draft of the bodice - it's princess seamed and will be constructed from several layers.

Wednesday, 14 July 2010

Victorian Corset - 1892

I'm embarking on another corset, this time Victorian. I have used my trusty copy of 'The Evolution of Fashion' to get the basic style lines and silhouette. Interestingly the book suggests inserting elastic panels in various places below the waist line, which struck me as a little unusual. It's not something I have come across before and after ten minutes of Googling, I believe in late Victorian times, it was common for athletic corsets to have elastic panels for a little extra breathing room! So, I've done away with all that and redrafted ordinary panels.


Also, the bust and hip measurements were mysteriously generous so I've slimmed them down considerably. This is the final draft of the pattern and the next stage will be to make a mock up to check for mistakes.

Saturday, 10 July 2010

Tudor Corset - Pattern Cutting.


This corset's intended fate is to end up under the Mary Boleyn dress. Sometimes I agonise over how I'm going to do something for ages when really, the best thing to do is have a go...and well, make it up as you go along. In the end I used my made to measure dress blocks as a guide - ignoring the darts, knocking off a few inches on the bust and waist and marking in new style lines as required. I have drawn in tabs along the waist line and the only place I have put seam allowance is on the side seams - all the other edges will be finished by bias binding.

Thursday, 1 July 2010

Tudor Hiproll


My 'Mary Boleyn dress' needs a moderately sized hiproll to give it the correct silhouette. After a bit of research I decided to aim for the size commonly seen around the 1560s. I cut my pattern for this by first drawing a circle with a circumference measuring the same as my waist. From here I drafted in the shape of the hiproll, it's 3.5 inches wide narrowing to 2 inches at the ends. I also flattened the circle to an oval shape to better fit my figure.


Then I traced off a copy of the pattern and added seam allowance. Once cut out it's ready to lay on fabric.


This is how it's looking so far, i've bagged out the edges leaving one end open for stuffing.