As I continue on my corsetry journey, which has basically been trial and error with a bit of help from books and helpful tidbits from the internet, I think I am now finally getting a really good grip on the pattern cutting aspect of it all. This corset was another step on the ladder.
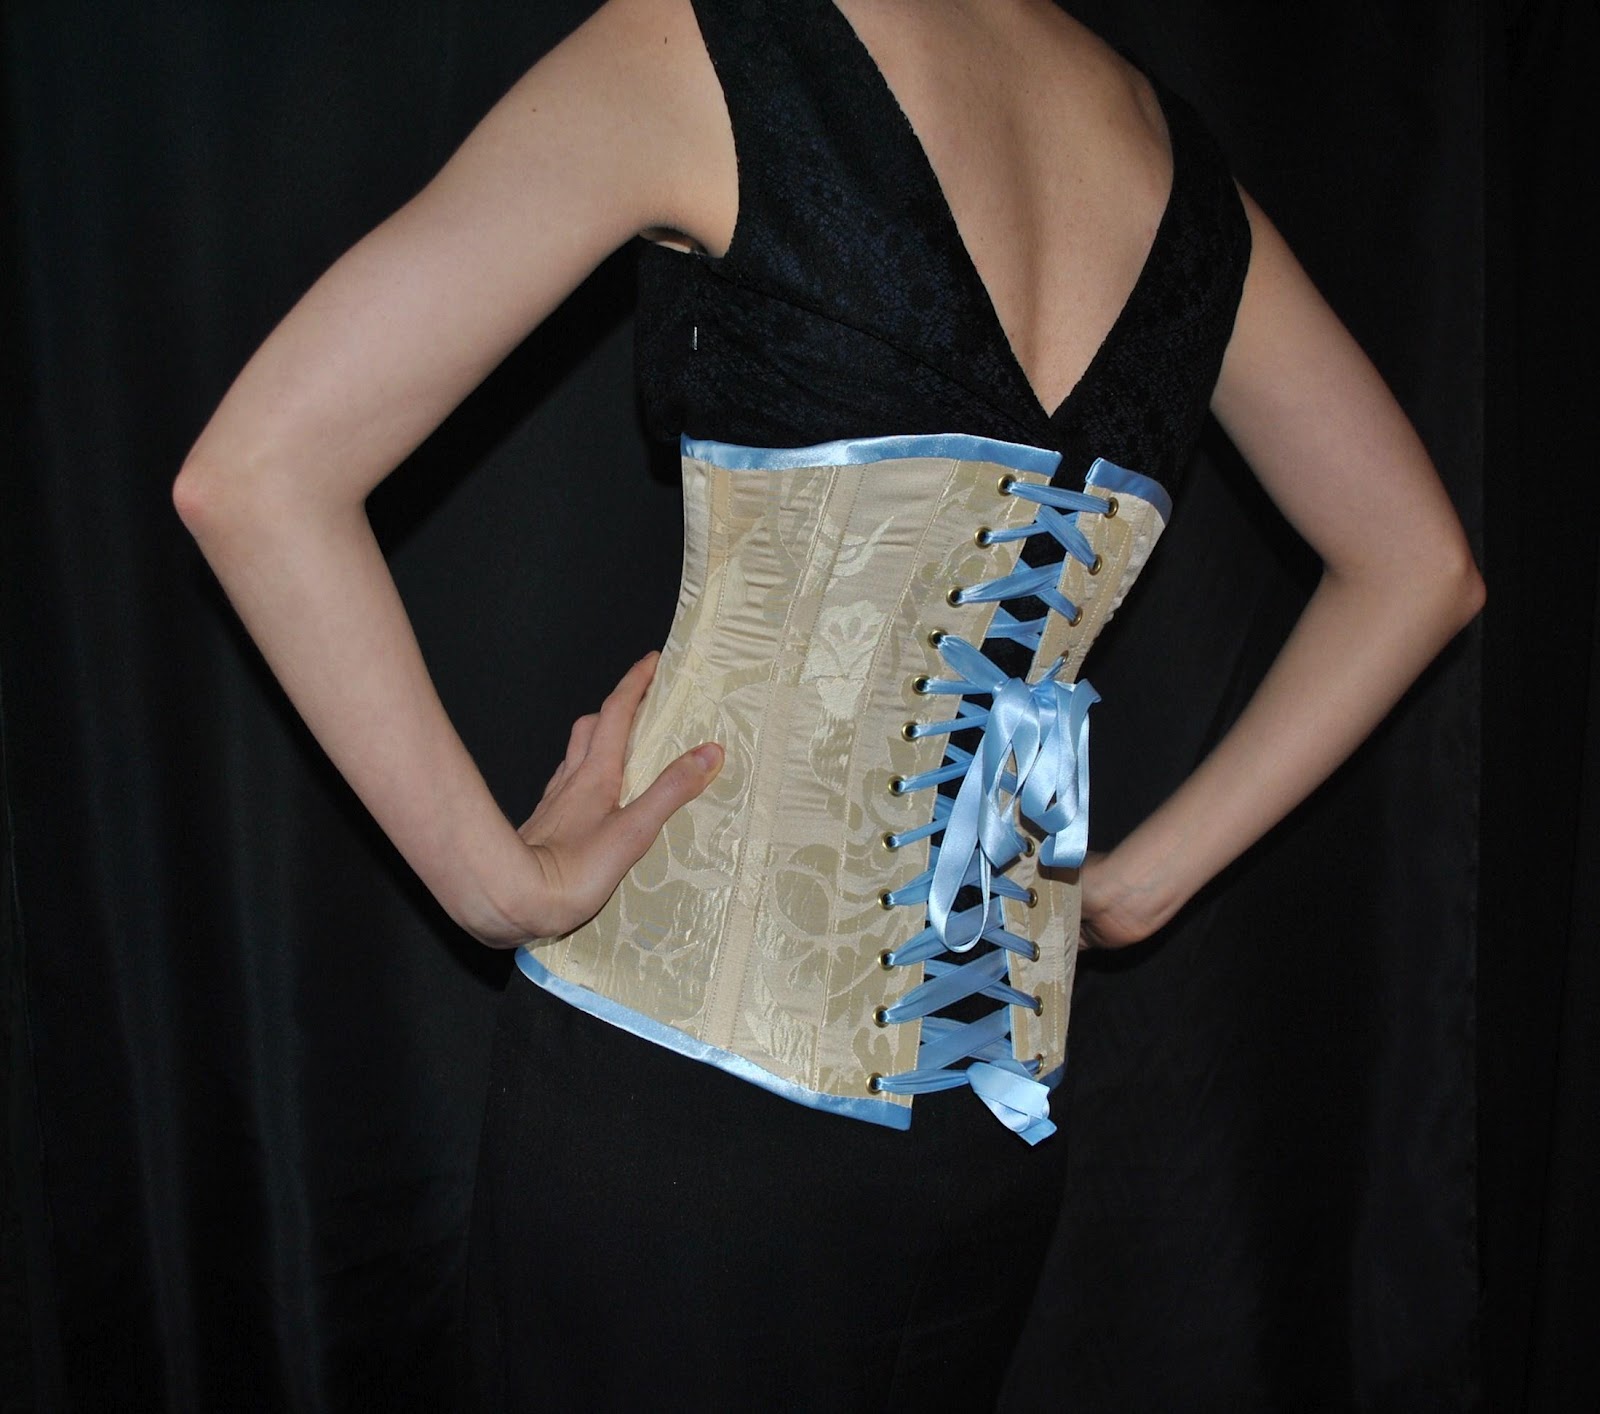
It's a long underbust cut to be very flat across the centre front but with lots of defintion on the waist.
I made this one out of recycled gold furnishing fabric with a pale blue lining, binding and ribbon. Then I added an extra bow to sit on the front for added prettiness.
Showing posts with label corsetry. Show all posts
Thursday, 31 May 2012
Sunday, 8 January 2012
Finished Project: Pre-Raphaelite Inspired Underbust Corset
Ok, so there was a brief, panic-filled moment during construction, when I genuinely believed this corset was going to be a complete failure. The further I went with it, the worse the weird, plasticy buckling effect got but once I put in on, it behaved itself.
And there was much rejoicing........
I'm completely thrilled at the way this turned out and now I can't stop thinking of all the interesting ways this technique could be used.
I'm wondering whether this could be pulled off a bigger scale....say 18th Century stays! Hmmm............
And there was much rejoicing........
I'm completely thrilled at the way this turned out and now I can't stop thinking of all the interesting ways this technique could be used.
I'm wondering whether this could be pulled off a bigger scale....say 18th Century stays! Hmmm............
Labels:
boning,
corset,
corsetry,
Finished project,
Pre-Raphaelite,
printing,
recycled,
steel,
textile,
underbust
Saturday, 31 December 2011
Finished Project: Gold and Blue Stays
So I finally finished these stays. I never did manage to find just the right shade of blue/grey fabric for the bias binding and in the end I just gave in and went with a pale blue, otherwise they may never have been finished.
It doesn't matter how bendy your joints are, or even if you're a direct descendant of Houdini, getting in and out of back lacing stays is just too difficult without help. So, I really wanted a front lacing pair of stays to be able to put them on myself without needing an assistant.
I also made the straps front and back lacing for extra prettiness.
I love stay-making, it's so theraputic and satisfying to see them come together, so much to entertain the eye.
It doesn't matter how bendy your joints are, or even if you're a direct descendant of Houdini, getting in and out of back lacing stays is just too difficult without help. So, I really wanted a front lacing pair of stays to be able to put them on myself without needing an assistant.
I also made the straps front and back lacing for extra prettiness.
I love stay-making, it's so theraputic and satisfying to see them come together, so much to entertain the eye.
Labels:
18th Century,
blue,
corsetry,
corsets and crinolines,
Finished project,
gold,
norah waugh,
stays
Wednesday, 29 June 2011
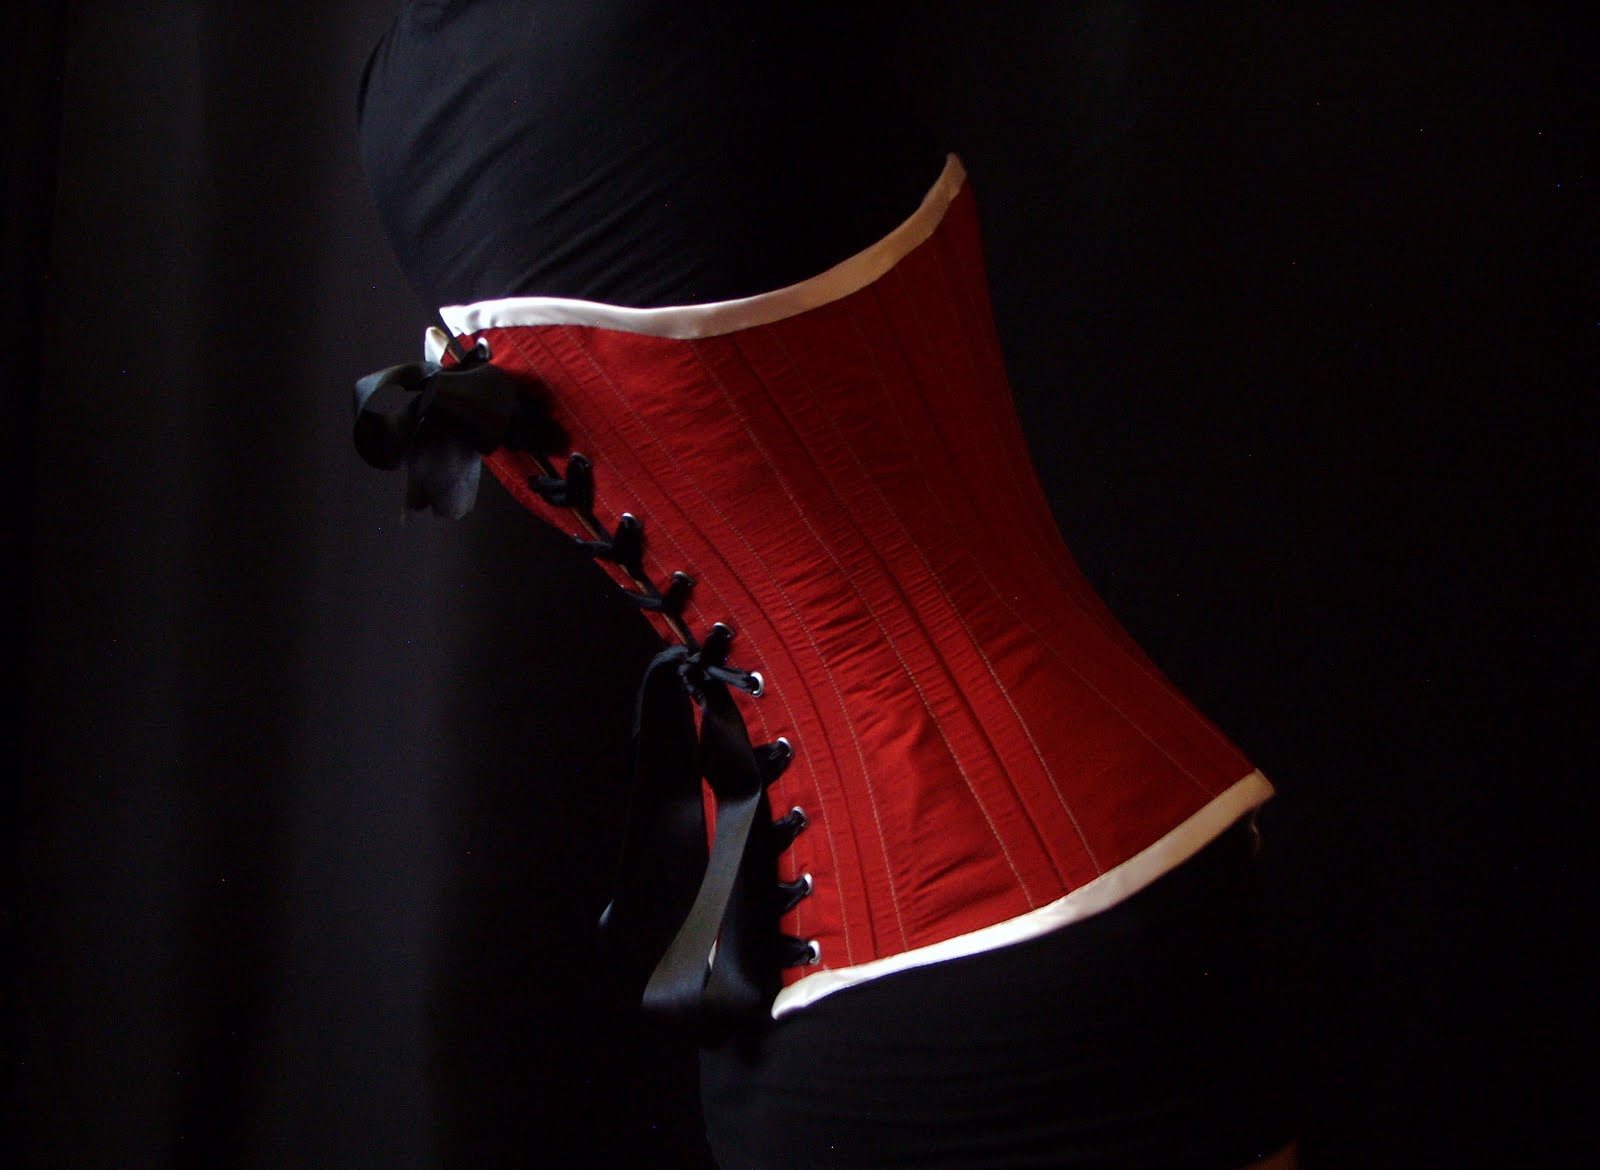
Finished project: Red Victorian Corset
I have finally finished my Victorian corset. I irritatingly ran out of steel before it was barely half boned, there is nothing worse than running out of materials when you are in the mood to sew.
I completely love how it turned out. After umming and ahhing over what colour bias binding to go with I thought white would really bring the red to life.
This is based on one of the simpler corsets from Jill Salen's book (Black and yellow flossed corset 1890-1900) The panels are straight forward, no gussets etc, so it would make a good starter project for a beginnner. It's nice and comfy to wear.

The corset as seen from a weird artistic angle.
In terms of improvement I need to tweak the pattern slightly, particularly around the hip, just to ensure total "snugification".
I completely love how it turned out. After umming and ahhing over what colour bias binding to go with I thought white would really bring the red to life.
This is based on one of the simpler corsets from Jill Salen's book (Black and yellow flossed corset 1890-1900) The panels are straight forward, no gussets etc, so it would make a good starter project for a beginnner. It's nice and comfy to wear.
The corset as seen from a weird artistic angle.
In terms of improvement I need to tweak the pattern slightly, particularly around the hip, just to ensure total "snugification".
Wednesday, 8 June 2011
Finished project: German Austerity Corset
I have made another corset based on Jill Salen's book 'Corsets: Historical Patterns and Techniques'. It's the German Austerity Corset, 1917. Due to wartime shortages this one was designed to use as little fabric as possible, one layer, with the bones inserted into machine fell seams. However I decided to make it up my usual way with three layers.
The corset spread out flat.
I used recycled curtain fabric, black satin bias binding and 5.5mm width spring steel for the boning. This was the first time I have used such narrow steel and the jury is still out on it. Although it was cheaper I think I prefer the shape and support of 13mm steel.
Corset from the front.
It's an unusual shape, it comes just up under the bust and comes down over the hips.
I'm not as in love with it as I thought I'd be but it was still fun to make :)
The corset spread out flat.
I used recycled curtain fabric, black satin bias binding and 5.5mm width spring steel for the boning. This was the first time I have used such narrow steel and the jury is still out on it. Although it was cheaper I think I prefer the shape and support of 13mm steel.
Corset from the front.
It's an unusual shape, it comes just up under the bust and comes down over the hips.
I'm not as in love with it as I thought I'd be but it was still fun to make :)
Labels:
corset,
corsetry,
Finished project,
gold,
Jill Salen,
steel
Monday, 9 May 2011
New project - Gold and blue stays!
I got about half way through my pink stays and decided that I wanted to make another pair that were front lacing and richer in colour. I chose a gold patterned fabric from my stash for the outer and a pale blue linen for the lining.
I have utilised the same 'Corsets and Crinolines' pattern from my pink stays but I have cut up the centre front. The front will have eyelets which meant I needed to rearrange the placement and direction of the bones slightly.
This is the lining of one the front panels. In order to maintain the effectiveness of the shaping around the bust, after slicing up the centre front, I put in this extra layer of bones with gaps for the eyelets.
The finished back panels.
A close up of the fabric.
I have been hunting high and low for just the right shade of blue for the bias binding to finish it off but as yet I havn't found what I'm looking for. The quest continues.............
I have utilised the same 'Corsets and Crinolines' pattern from my pink stays but I have cut up the centre front. The front will have eyelets which meant I needed to rearrange the placement and direction of the bones slightly.
This is the lining of one the front panels. In order to maintain the effectiveness of the shaping around the bust, after slicing up the centre front, I put in this extra layer of bones with gaps for the eyelets.
The finished back panels.
A close up of the fabric.
I have been hunting high and low for just the right shade of blue for the bias binding to finish it off but as yet I havn't found what I'm looking for. The quest continues.............
Labels:
1780,
18th Century,
blue,
corsetry,
corsets and crinolines,
gold,
norah waugh,
stays
Wednesday, 4 May 2011
Finished project - pink 18th Century stays.
The stays are all done and poor old Claudia was promptly dragged out into the garden and crammed into them. Actually, I didn't think she'd fit at all because she is so 'un-squishy' but they laced up really well around her.
All of the boning channels and seams are sewn by machine, the bias binding to finish off all the raw edges was done by hand.
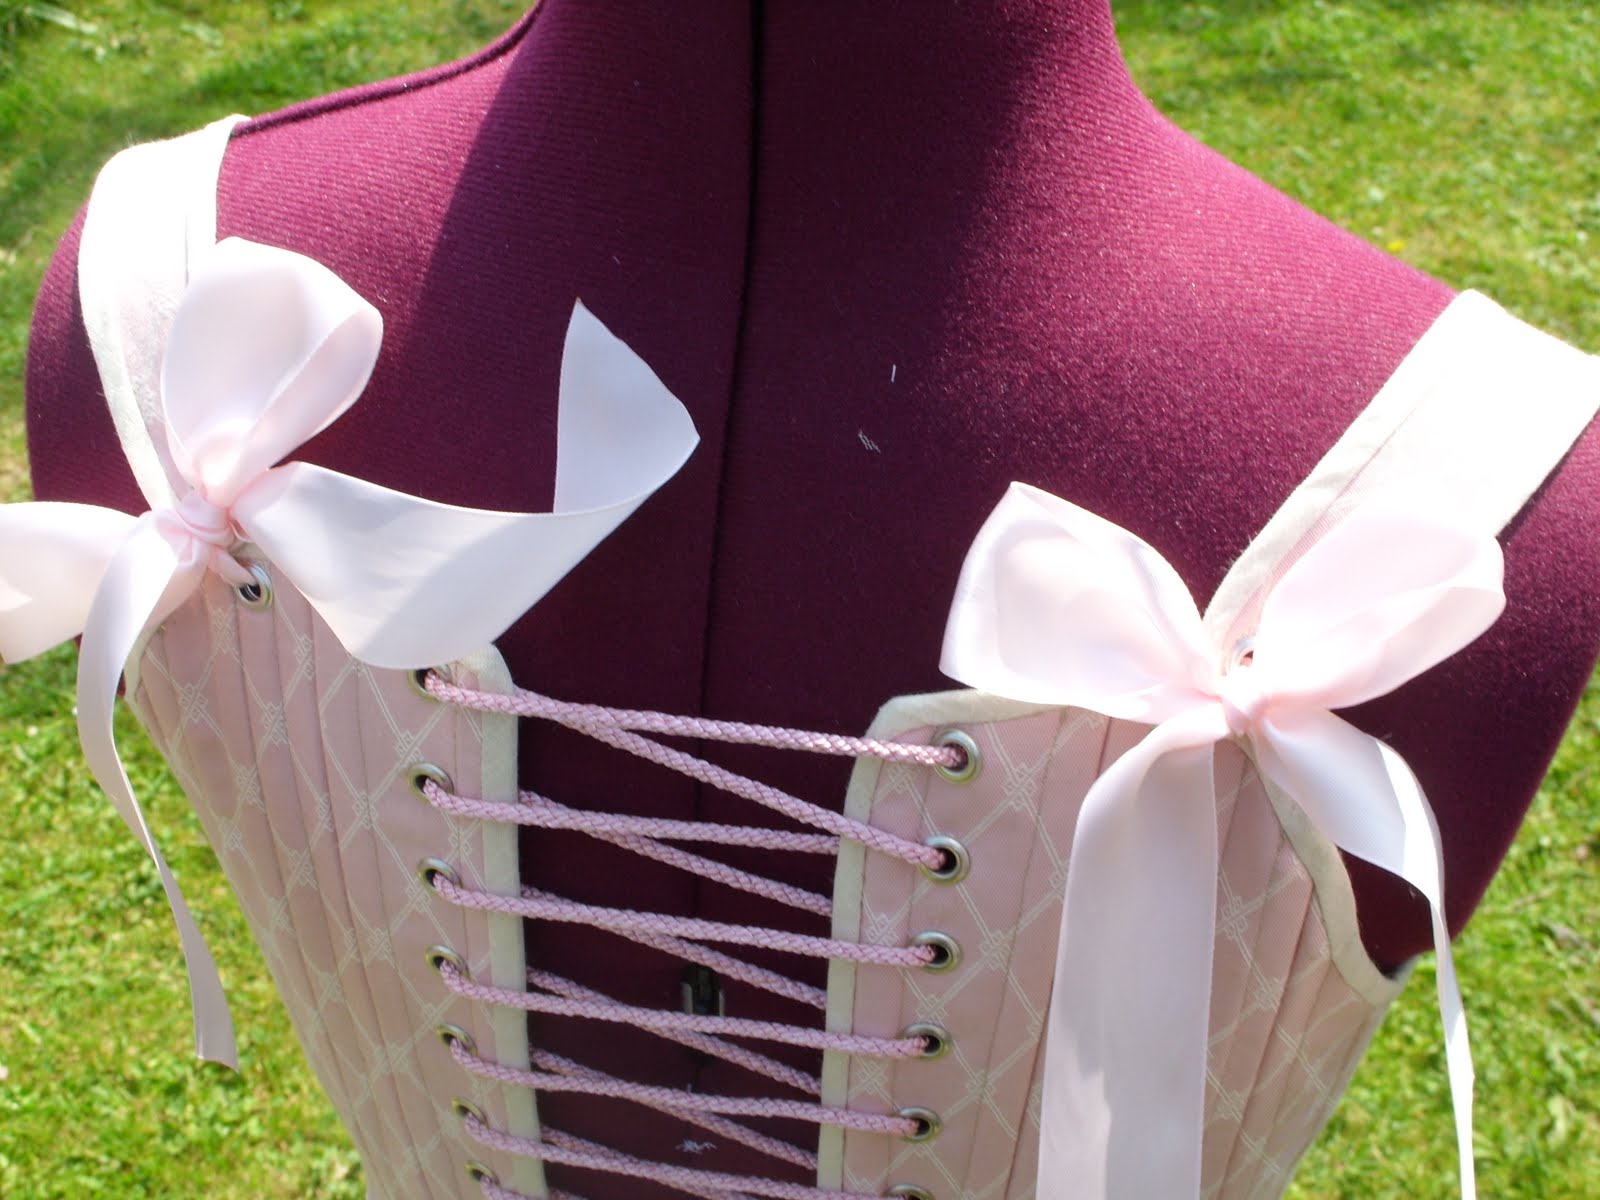
The stays from the back - I used metal eyelets.
The straps tie together at the back with ribbons throught the eyelets.
These were so fun to make, so much fun in fact that I'm already embarking on another set of stays. This time I'm going for a richer colour palette with front and back lacing.
All of the boning channels and seams are sewn by machine, the bias binding to finish off all the raw edges was done by hand.
The stays from the back - I used metal eyelets.
The straps tie together at the back with ribbons throught the eyelets.
These were so fun to make, so much fun in fact that I'm already embarking on another set of stays. This time I'm going for a richer colour palette with front and back lacing.
Labels:
1780,
18th Century,
corsetry,
Finished project,
pink,
stays
Friday, 22 April 2011
18th Century stays - in progress.
I have started a new project - a set of half boned stays. I was so engrossed in the sewing of them that I forgot to take photos until I had finished most of the boning. I used the 1780 pattern from 'Corsets and Crinolines' by Norah Waugh which is a bit of a headache to scale up as it's not on a grid on the page. Once I had my paper pattern I cut out a calico toile just to check the fit.
This is one half of the stays in my yummy pastel pink fabric. I confess - its curtain fabric and the lining is a dusky pink chintz. Furnishing fabric shops are my new obsession. I guess it's because the patterns and colours are better suited to historical fashion, plus they are nice and strong - ideal for stays. I am using cable ties for the bones - a fabulous tip I picked up from American Duchess. Rather irritatingly, I bought a bunch of 36 thinking it would be plenty and I was 3 short....grrrrrrrr!!!
All the panels are sewn together.
The inside of the stays. From here I need to find or make some delicious bias binding to finish all the edges and whack in some eyelets.
This is one half of the stays in my yummy pastel pink fabric. I confess - its curtain fabric and the lining is a dusky pink chintz. Furnishing fabric shops are my new obsession. I guess it's because the patterns and colours are better suited to historical fashion, plus they are nice and strong - ideal for stays. I am using cable ties for the bones - a fabulous tip I picked up from American Duchess. Rather irritatingly, I bought a bunch of 36 thinking it would be plenty and I was 3 short....grrrrrrrr!!!
All the panels are sewn together.
The inside of the stays. From here I need to find or make some delicious bias binding to finish all the edges and whack in some eyelets.
Subscribe to:
Posts (Atom)