Showing posts with label gold. Show all posts

Thursday, 31 May 2012

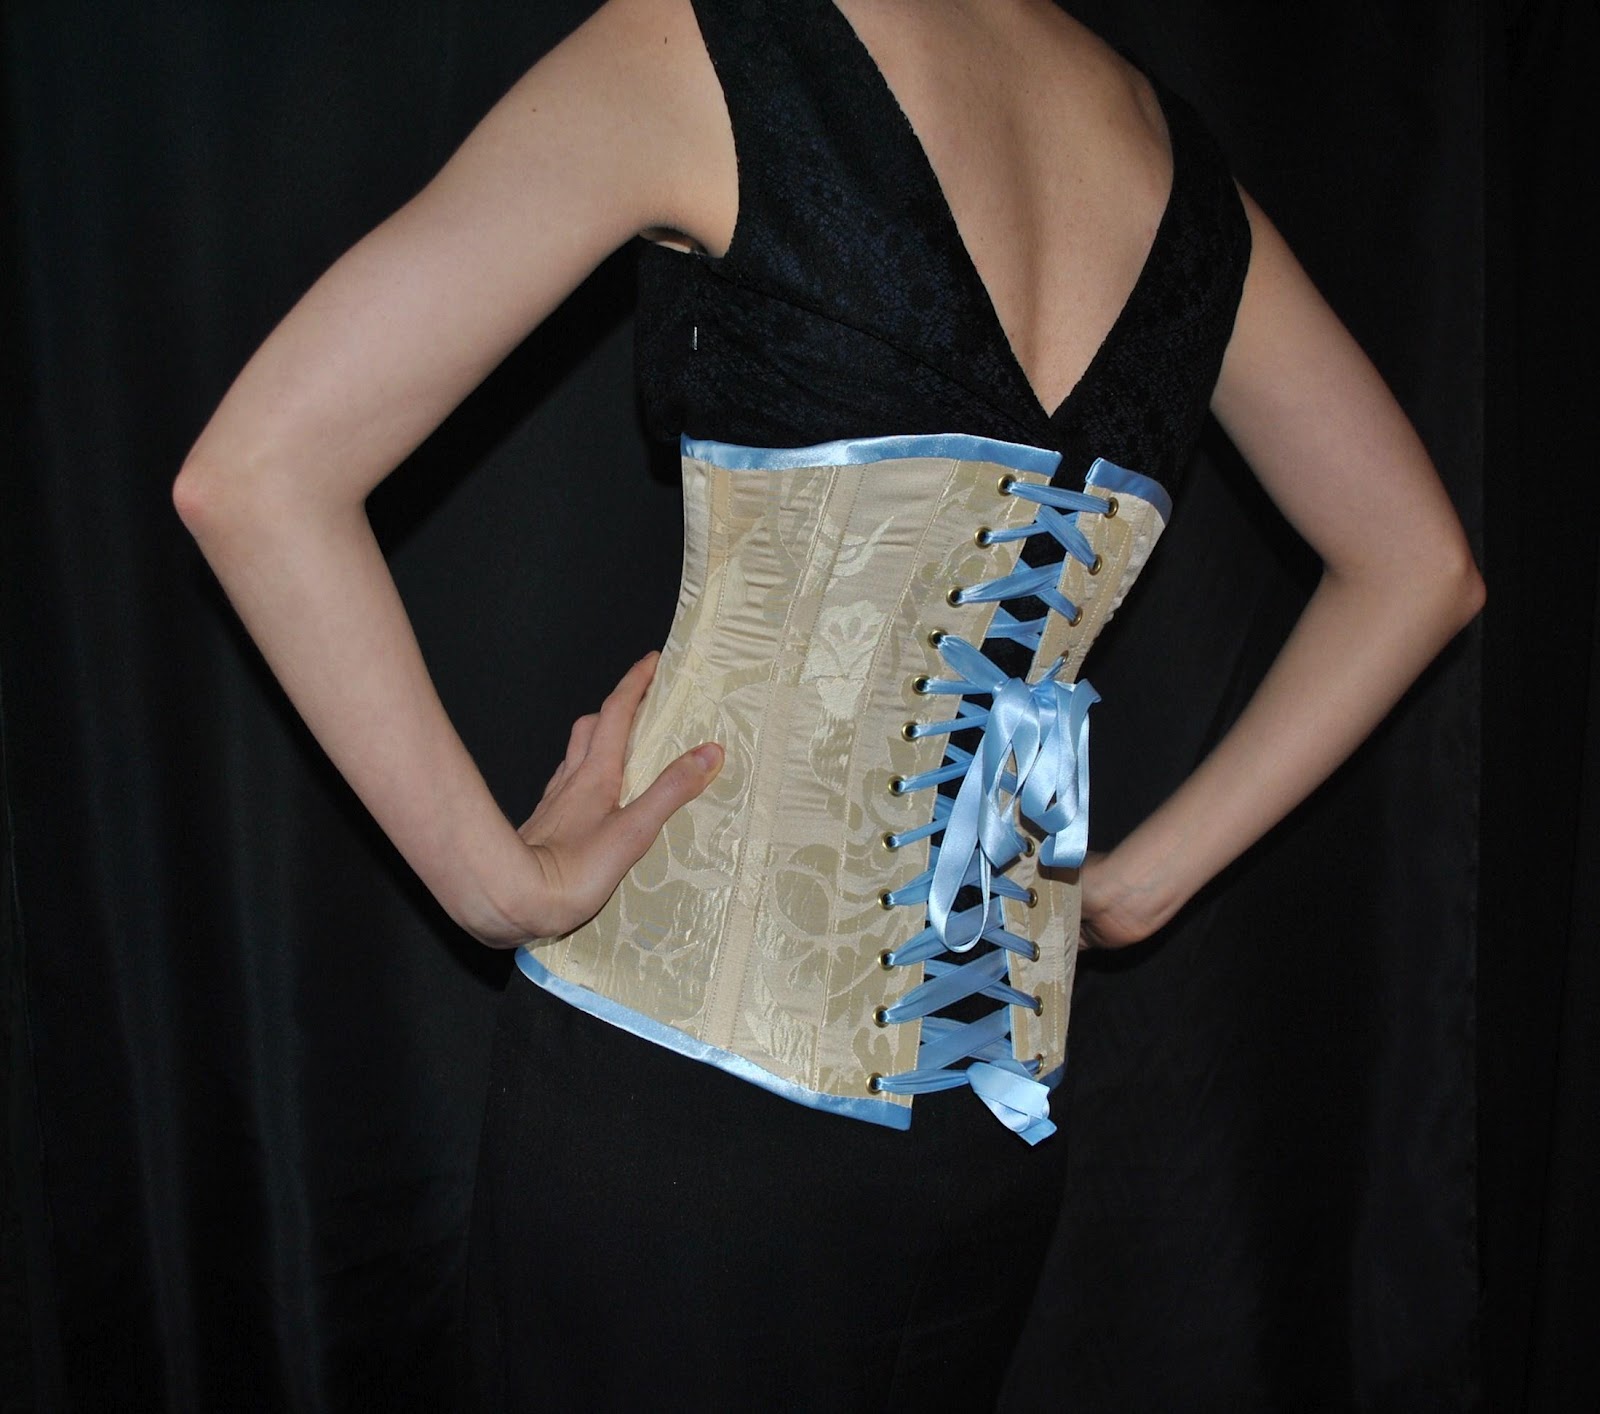
Finished Project: Discordia Underbust Corset

As I continue on my corsetry journey, which has basically been trial and error with a bit of help from books and helpful tidbits from the internet, I think I am now finally getting a really good grip on the pattern cutting aspect of it all.  This corset was another step on the ladder.


It's a long underbust cut to be very flat across the centre front but with lots of defintion on the waist.


 I made this one out of recycled gold furnishing fabric with a pale blue lining, binding and ribbon.  Then I added an extra bow to sit on the front for added prettiness.

Wednesday, 9 May 2012

Finshed Project: Purple and Gold Underbust Corset

Just a quick post about a new corset I made.  I cut it to come down nicely over the hips wtith simple, no fuss panels so I thought I would have some fun with the colours.


The finished corset has a 24" waist.


 As you can see I finshed this one with black ribbon and bias binding.  I'm very happy with this one and I am planning to grade it into different sizes.

Tuesday, 20 March 2012

Finished Project: Alice in Wonderland Underbust Corset

This is a variation on the Pre-Raphaelite corset I made using the same pattern.


I had a lot of fun with this, playing around with the text, trying to create a feeling of whimsy.

Thursday, 5 January 2012

New Project: Pre-Raphaelite Inspired Corset

I have always adored the paintings of the Pre-Raphaelite Brotherhood and have been forever meaning to do something inspired by one or more of them.  This project isn't so much inspired as it a direct homage to some of the gorgeousness those chaps put on canvas.

It's a bit of an experiment with printing, I've never used this technique before and I'm not quite sure how it's going to turn out - but that's part of the fun!  I've used inkjet printing paper to transfer images onto a pale fabric.  I'm using a strong off-white recycled curtain fabric which has a a very subtle floral design on it which I'm hoping will add to the overall texture.


I cut my own corset pattern for this project - I needed decent sized panels to do the images justice.  Once I cut out my fabric I then began the task of collaging and building images onto the fabric.  Getting an image to fit exactly onto a panel proved too fiddly so I used layering to fill in any tricky little gaps.


Here are the finished printed panels for the right side of the corset.


And these are the finished left panels.

The printing has the effect of giving the fabric a 'plasticy' feel with a glossy finish.  The fabric now has much less natural flexibility so this could be interesting,  I just hope it doesn't cause too much buckling as it comes together.

Saturday, 31 December 2011

Finished Project: Gold and Blue Stays

So I finally finished these stays.  I never did manage to find just the right shade of blue/grey fabric for the bias binding and in the end I just gave in and went with a pale blue, otherwise they may never have been finished.


It doesn't matter how bendy your joints are, or even if you're a direct descendant of Houdini, getting in and out of back lacing stays is just too difficult without help.  So, I really wanted a front lacing pair of stays to be able to put them on myself without needing an assistant. 


I also made the straps front and back lacing for extra prettiness.


I love stay-making, it's so theraputic and satisfying to see them come together, so much to entertain the eye.

Wednesday, 12 October 2011

Finished Project: Green and Gold Embroidered Underbust.

This is another variation on Jill Salens Victorian Underbust constructed from recycled green curtain fabrics lining and all!


After flatlining each panel I machine embroidered up the middle of each panel being careful to avoid sewing too close to the edges - leaving space for the seam allowance and boning channels.  I then fully constructed this corset using cable ties for boning and black satin bias binding to finish the raw edges.


The very last touch to this corset was to sew on the lace applique flowers to each machine embroidered 'stalk'.

Wednesday, 8 June 2011

Finished project: German Austerity Corset

I have made another corset based on Jill Salen's book 'Corsets: Historical Patterns and Techniques'.  It's the German Austerity Corset, 1917.  Due to wartime shortages this one was designed to use as little fabric as possible, one layer, with the bones inserted into machine fell seams. However I decided to make it up my usual way with three layers.


The corset spread out flat. 

I used recycled curtain fabric, black satin bias binding and 5.5mm width spring steel for the boning.  This was the first time I have used such narrow steel and the jury is still out on it.  Although it was cheaper I think I prefer the shape and support of 13mm steel.


Corset from the front. 

It's an unusual shape,  it comes just up under the bust and comes down over the hips.


I'm not as in love with it as I thought I'd be but it was still fun to make :)

Saturday, 28 May 2011

Finished project: Underbust Corset.

Here is the finished corset - I'm really happy with it.  Whilst making it I kept looking at it and thinking it was out of proportion but my fears were unfounded!


I scraped together all the leftover scraps of fabric to make the little bow.  If there's anything I can't bear it's wasted fabric.


Saturday, 21 May 2011

New project - underbust corset.

What's the best thing to do if you run out of steel boning half way through making a corset? Answer: start another one of course!!!


It's a dainty little underbust corset from Jill Salen's book. I only had a narrow strip of this fabric, rescued from a remnant bin in a furnishing shop and it was just enough to make this corset.  It took a bit of maneuvering to persuade all the pattern pieces to fit on mind you!


I need to buy a busk for the centre front but that's the only steel this corset requires.  The original was whale boned so I used cable ties either side of each seam.  It still surprises me how robust and effective cable ties are!

Sunday, 15 May 2011

New project - red corset!

I have become corset obsessed!!! This one is based on one of the Victorian patterns in Jill Salens's book 'Corsets: Historical patterns and techniques'.  The patterns in this book are easy to scale up as they are all drawn on grids.


This corset is made from three layers of fabric, you could use two though, as long as they were strong. Personally I prefer to use three, it just feels really sturdy and gives it extra structure.  I had a scrap of rich red silk in my stash for the outer layer and quite a bit of gold satin left over from the Sirona gown for the lining.  For the middle layer I just use whatever plain white-ish fabric I have lying around.


A photo of the busk in place.


The back panels with steel boning inserted either side of the seams.


This is how far I got before I ran out of steel!  Argh!!!

Monday, 9 May 2011

New project - Gold and blue stays!

I got about half way through my pink stays and decided that I wanted to make another pair that were front lacing and richer in colour.  I chose a gold patterned fabric from my stash for the outer and a pale blue linen for the lining.


I have utilised the same 'Corsets and Crinolines' pattern from my pink stays but I have cut up the centre front.  The front will have eyelets which meant I needed to rearrange the placement and direction of the bones slightly.


This is the lining of one the front panels.  In order to maintain the effectiveness of the shaping around the bust, after slicing up the centre front, I put in this extra layer of bones with gaps for the eyelets.


The finished back panels.


A close up of the fabric.

I have been hunting high and low for just the right shade of blue for the bias binding to finish it off but as yet I havn't found what I'm looking for.  The quest continues.............

Monday, 4 April 2011

Finished project - neck choker.

As I was working on the Sirona gown I toyed with the idea of making a neck choker or decorative neck piece to go with it.  This is what that idea turned into............


Using some of the left-over pale gold satin I cut a strip 11" by 1" and used a soldering iron to set the edges in a decorative scalloped effect.  I also cut out three randomly shaped triangles of the fabric, plus another four in organza and finished the edges in the same way.


Then all I had to do was pinch, twist and arrange them in place on the neck band, hand stitch them in place and voila!  It was satisfyingly quick to put together aswell - about an hour.  I'd like to develop this idea further, maybe play around with the design a bit or even make it oversized and competely over the top!

Sunday, 20 March 2011

Finished Project - The Sirona Gown

This has been one of those projects where everything fell blissfully into place. There were no major difficulties to navigate, everything fit where it should and I didn't pull a single hair out!!!


The completed dress squeezed onto Claudia!


Dress from the front and a swooooosh of train.


With the lining all done and the hems all sorted, the best bit of all still remained - decoration.


I made loads of flowers (a biscuit tin full) from satin, organza and any other fabrics in shades of gold and cream I had in my stash.


I also payed a visted to Primark and bought a couple of pieces of jewellry which I cut up to utilise the beads.  This is a great way of buying beads on a budget.


 Pinning flowers in place.


More flowers arranged over the shoulder.


Flowers on the waistline.


Another shot of the front.

Space is a bit tight to get decent photographs of the entire dress so when the weather dries up a bit I'm planning to drag Claudia into the garden and get some better photos.

Sunday, 27 February 2011

The Sirona gown in gold satin.

That familiar feeling of slight trepidation always strikes just as I'm about to start cutting out in fabric.  It's like a little voice in my subconscious 'Are you sure you want to take those very sharp scissors to this beautiful fabric?!' 

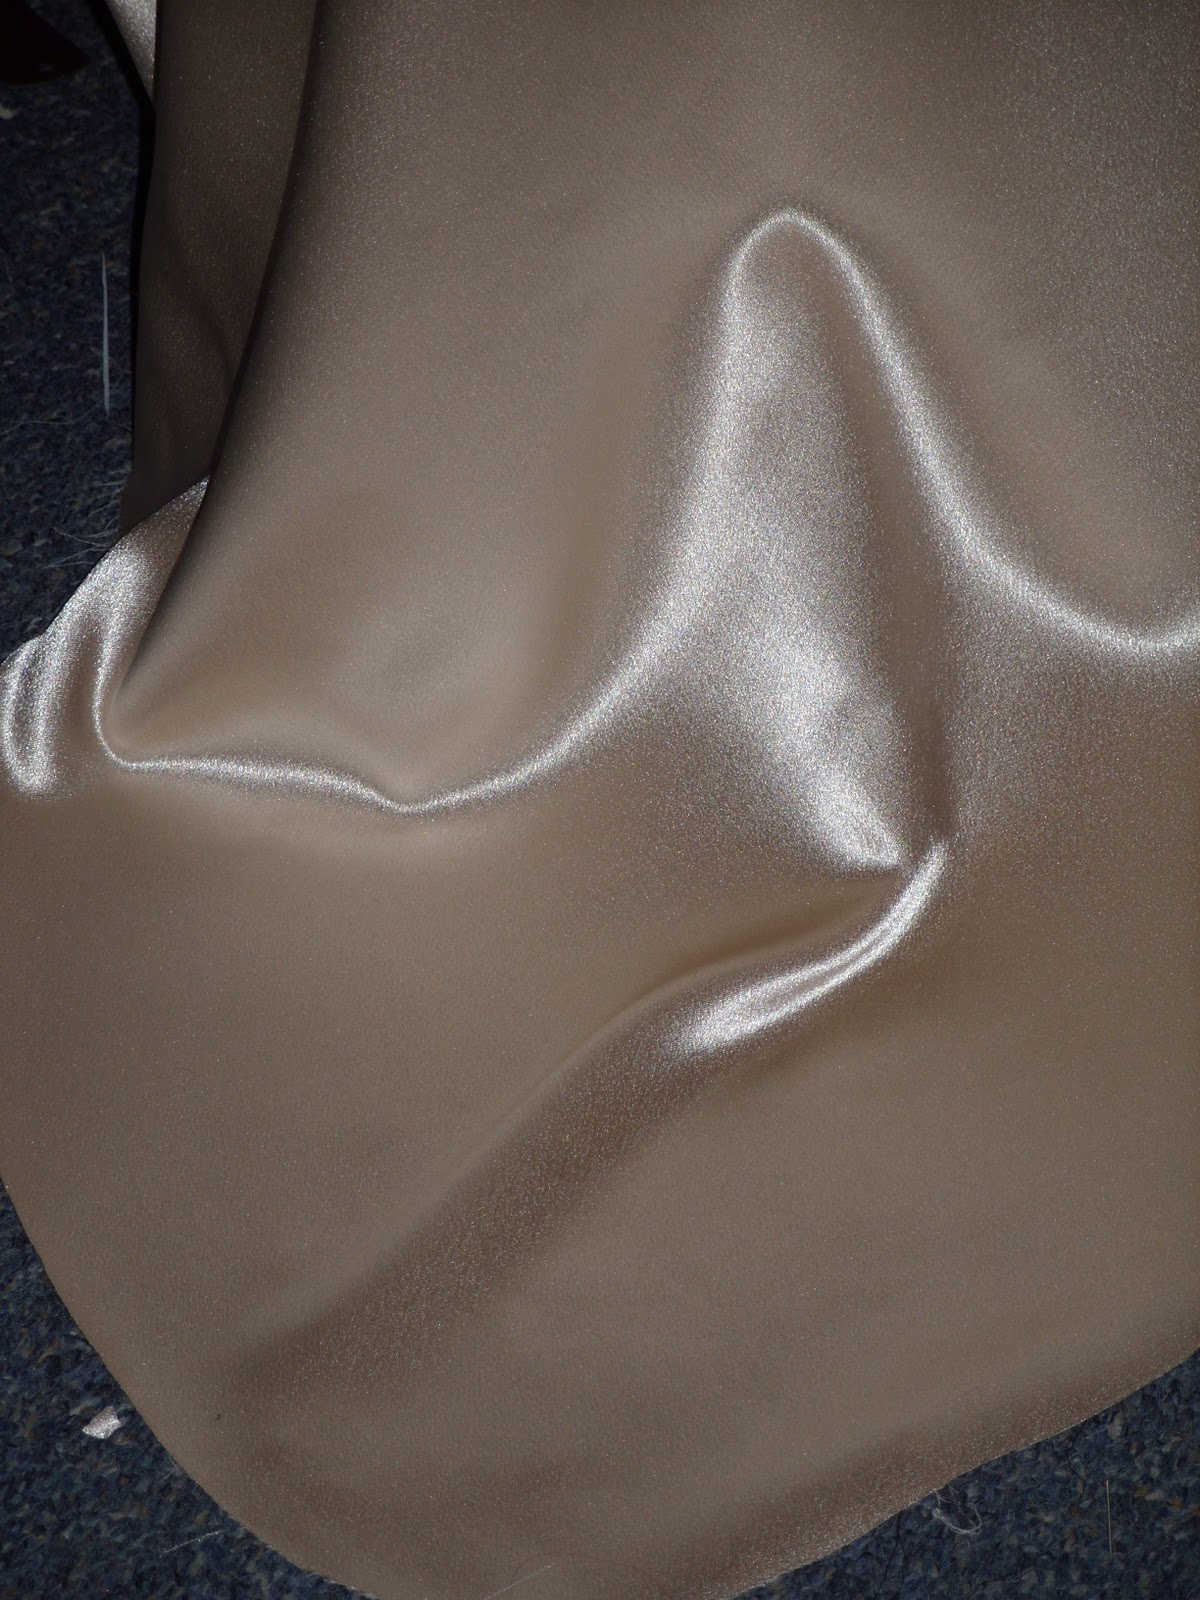
Crepe back satin or satin back crepe, depending on how you look at it, cuts and sews beautifully.  It has a lovely weight that makes it easier to work with than a limper satin and it's pretty robust - generally speaking pins won't mark the fabric. I sewed the whole thing together, keeping one side seam open so I could wriggle into it just to be absolutely sure of fit before progressing any further.  Only when i was certain that the dress was exactly right did I unpick the other side seam and shoulder seam thus separating the front from the back.


The gown cut out in gold satin before I unpicked it again.. 

I couldn't help but think when I got to this point how great this could be if it was cut out on the bias. 


The train.


A view of the side.

From here the fun can really begin.  The next step is to drape the chiffon directly onto the gown.  Yay!!!


Wednesday, 16 February 2011

Sirona Gown - progress.

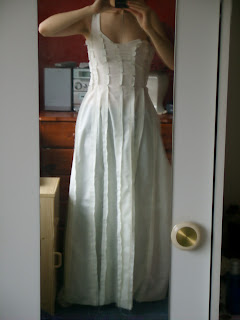
I cut my pattern out in polycotton to check the fit and make sure I hadn't made any errors when pattern drafting.  Everything matched up and it only needed a few tweaks to the fit here and there which I transfered over to my paper pattern.  As there were not any drastic changes it means I will be able to use this as the lining - this made me super happy as I despair at wasting fabric.


Dress from the front before slight changes to the fit were made.  I needed to tighten it up around the bust and waist to an exetremely close fit, to prevent the dress from slipping on the strapless side.
 

The back -  it has a little train!

I can't wait to cut this out in my satin fabric - the colour is called latte - a very pretty pale gold.


Monday, 21 June 2010

Reverse applique - the next steps.


After much tedious stitching made even more tedious when my machine embroidery foot broke (grrrrrr) the design was finished. You can see how I have followed the design on the paper.


Next comes the fun part - ripping the paper away!!! Its one of those really satisfying jobs. I use a seam ripper to get the little bits of paper out of the nooks and crannies. If I have time tomorrow I will begin the process of cutting away parts of the design but for now you can see the stitched (paper free) motif.