Saturday 27 November 2010

Fairytale chiffon dress - bodice toile.

I spent today sewing the toile of the bodice - a good thing too because I'm not at all happy with it. It's just a bit........................clunky!


It came together nicely - all the bits and pieces fit where they should but it doesn't match the image I had in my head. Back to the drawing board!


I have drafted a entirely different pattern from scratch. This isn't something I would usually do or recommend in pattern cutting but in this case it felt like I needed a clean slate. I used my dress block as a starting point rather than the bodice block this time. I've altered the shape of the straps over the shoulder and the curve of the neckline. There are more panels - so more versatility for fitting and hopefully a more streamlined finish.

Thursday 25 November 2010

18th Century petticoat update and the beginning of a new dress

I started this petticoat a while ago but then things got too busy to do any further work on it. I've finally dug the poor thing out of the bag it was languishing in and given it some much needed attention. This is what the petticoat looks like so far - unfortunately it's rather large and difficult to get a photo of it all in one shot.


This is the back - you can see where it fastens at the waist with ribbons.


The front view - which is should hopefully hang smoothly when I'm finished with it. The outward length over the panniers is adustable by pull cords so it could in theory fit over a set of smaller panniers. All that remains is to sew in the pleated side panels and finish the hem.

I have also started cutting a pattern for a new dress, which I have for now nicknamed the "fairytale chiffon dress". This is the final draft of the bodice - it's princess seamed and will be constructed from several layers.

Wednesday 17 November 2010

A medley of finished tags!

I have been working away steadily at my christmas tags. It's taken longer than I thought it would to assemble them. Who knew cutting and sticking would be so exhausting? I've ended up with quite a lot of different designs and variations which makes me exceedingly happy. The more individual the better!


I have done a couple of close ups of some of my favourites.


I also made lots and lots of cute little 3D origami stars. I'm going to thread them together in groups of three and dangle them from presents as extra decoration.

Wednesday 3 November 2010

Christmas gift tags!

I spent this afternoon working on some prototype designs for Christmas tags. Here are the results.


I made them using card and luggage labels, distressing inks, and images from clipart plus any other pretties I had lying around. I think I like the blue ones the best!!!

Sunday 19 September 2010

My finished, beaded handbag.

It's been a little while since I have posted anything. Alas, the hand sewing of my 18th Century petticoat is making slow but steady progress. I have a habit of going off on a tangent in the middle of a project, I've tried to not do this but I find that if I have an idea it's best to just go with it and come back to whatever I was doing afterwards. So, here's the handbag I had an unstoppable urge to made.


The handbag itself is pretty simple and quick to assemble. It's lined and it has a middle layer of foamy type fabric to give it extra stability. It took somewhere around twelve hours to make, most of that time was taken up with the embellishing.


A close up of the decoration and beading.


The design and construction need a few tweaks here and there but I'm very happy with it.

Monday 9 August 2010

18th Century petticoat - progress


My petticoat to fit over my finished panniers is coming along nicely albeit slowly. I'm sewing it all by hand in methods as true to the 18th Century as my knowledge allows. This first picture shows off the colour of the fabric best. It's a soft gold and has a not so 18th century pattern on the front so i'm using the wrong side which is plain and has a nice shimmer.


I'm finishing all my inside raw edges with bias tape which is hard work but I love the way it looks and I think it's worth the effort.


To finish the raw waist edges which are visible on the outside of the petticoat I am using bias tape that I have cut from the fabric to give a cleaner look.

I still have a fair few more edges to finish by hand before I move on to sewing channels for the drawstrings.

Thursday 29 July 2010

18th Century petticoat

Now that the panniers are done I'm starting to think about the petticoat to go over it and how it might be trimmed and decorated. After much trawling through images and weighing up options this scrumptious robe a'la francaise is my favourite.


I think the proportions of this gown are lovely. I love how striking the box pleated trim is on the gown itself, I wonder if each one is padded slightly to give them a little more oomph!

The flounce that decorates the front of a petticoat is called a furbelow and for reasons of expense only covers the part of the petticoat that is visible. Women would often wear the same dress to different occasions but change the trims to create a slightly different look.

Monday 26 July 2010

My panniers are finished!!


Yippee! They are finally done. Goodness knows where I'm going to store them, they span well over a metre at hip level. I dragged Claudia outside to get better photos and the wind kept catching her and rotating her like a windmill!


There are supposed to be tapes attached to the inside and tied off to enable the adjustment and control of the 'springyness'. I have played around, pinning tapes to the insides to see how this might work but I have decided to wait and see how the panniers behave with a petticoat over them before I sew any tapes in.


Its boned with continuous spring steel, the boning channels are simply sewn down bias tape. I have made it collapsable, the vertical steel boning is held in by tied off ribbons at each of the four corners but this can be undone and the boning removed. That said, it's still pretty bulky when collapsed. The waist is draw-string and ties on either side for easier adjustment.

Saturday 24 July 2010

I couldn't resist.....


This fabric was just too pretty and too good value to pass up on. It was in the sale bin, calling out for me to buy it. As soon as I saw it I couldn't help but think of Marie Antoinette.


It's a lovely soft pink with a cream diamond pattern, the photos really don't do it justice. I think this fabric would be perfect for an 18th Century corset.

Thursday 15 July 2010

Of henins and veils....

I've been doing some research on fashionable headwear for ladies in the 15th Century. Keeping hair hygienic during this period of history was next to impossible, so the simplest solution was to cover it altogether. It was around this time that a greater variety of headdresses were seen, such as the caul - a netted ovaloid form on either side of the head. There were also the padded roll headdresses - tubes of fabric manipulated and curved into various shapes. Perhaps most famous is the henin, which forms the basis of the iconic 'princess hat'.


Hugo van der Goes' "Portinari triptych" (detail of Mary Portinary, right wing) 1479

This is an example of the henin, a cone shaped hat usually with a veil draped from the top.


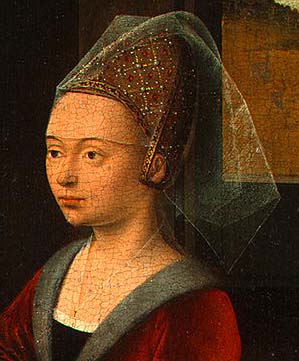
Petrus Christus, c.1450 - Detail from Portrait of a Female Donor

There was also a cut-off version called the truncated henin, a sort of decorated fez with two wire antennae projecting off the front to the back of the head which supported the veil.


A detail from King René's tournament book.

This method of supporting a veil became increasingly dramatic leading to the butterfly henin, the antennae come from the top and are angled down, creating a scaffolding for multiple layers of veiling. The reticulated design (meaning diamond pattern) on the cone itself was very popular throughout all styles of headdresses.

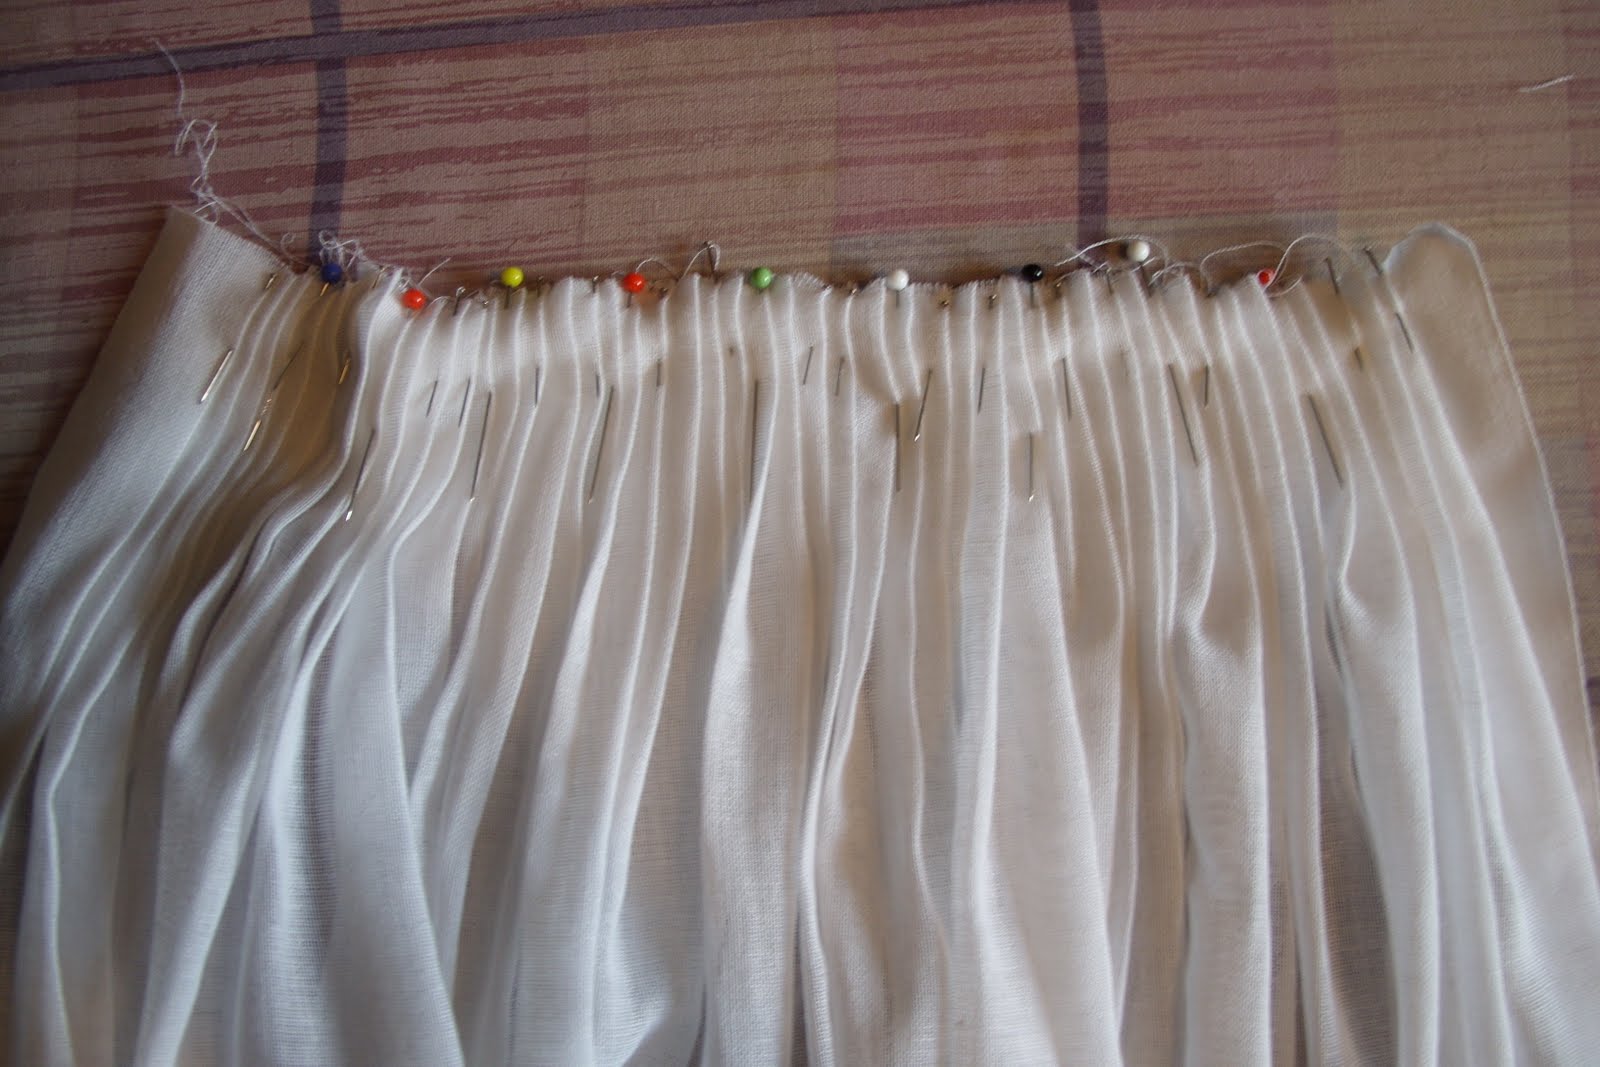
There are no surviving examples of headdresses from this period so it cannot be said for sure how they made them or what they made them from. However it is quite likely that they used wires to create the antennae. As for the materials used in creating the rigid cones they may have used a form of stiffened felt or possibly bundles of reed. Certainly the Tudors are known to have used reed to bone corsets so it is not unreasonable to suggest this.


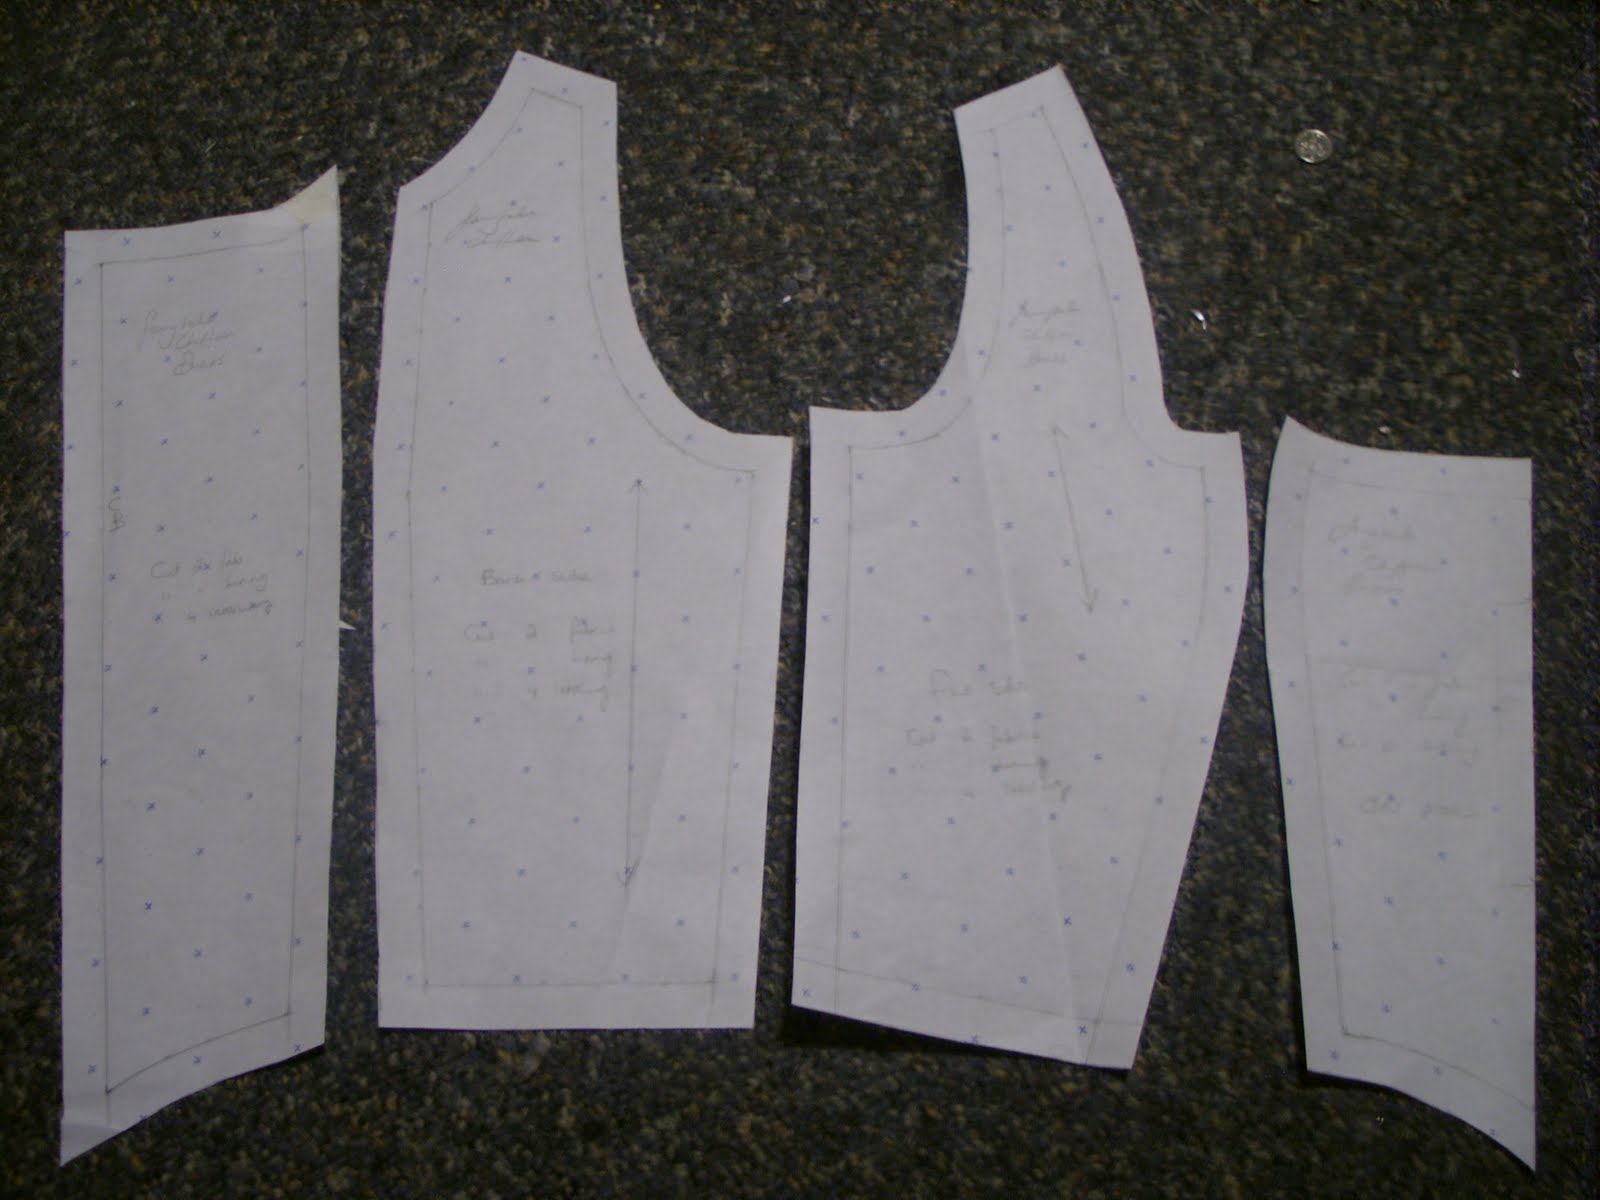
I think the henin in all its forms is inspiring and I have been inspired to make one. I have drawn up a basic pattern for a truncated henin and next I will make it up in fabric to test it out.

Victorian corset - take two!


This is the second attempt, re-drafted, re-cut and re-sewn from scratch. It's definately an improvement on it's predecessor.


There are still a few tweaks needed, i've pinned the excess out of the bust and the pattern will need to be adjusted accordingly. This is ready for a full scale attempt now.

Wednesday 14 July 2010

Victorian corset mock up.


This is the first mock up to test out the pattern for this corset. There is quite a bit that needs correcting on it. Looking at it, it feels as though it's lost it's 'Victorian-ness'. The neckline needs tweaking and I need to add some fabric back in at the bust to balance it out a bit and give it back its curves. Also, I need to take out a bit of fabric on the hip on the front of the corset to flatten it against the body better. Second draft here I come........

Victorian Corset - 1892

I'm embarking on another corset, this time Victorian. I have used my trusty copy of 'The Evolution of Fashion' to get the basic style lines and silhouette. Interestingly the book suggests inserting elastic panels in various places below the waist line, which struck me as a little unusual. It's not something I have come across before and after ten minutes of Googling, I believe in late Victorian times, it was common for athletic corsets to have elastic panels for a little extra breathing room! So, I've done away with all that and redrafted ordinary panels.


Also, the bust and hip measurements were mysteriously generous so I've slimmed them down considerably. This is the final draft of the pattern and the next stage will be to make a mock up to check for mistakes.

Monday 12 July 2010

The Tudor corset is taking shape!


This is a partial toile - made up in a heavy calico. I'm not going to make it up fully, I just needed to be sure of the fit and that all the seams match. So far so good.

Saturday 10 July 2010

Tudor Corset - Pattern Cutting.


This corset's intended fate is to end up under the Mary Boleyn dress. Sometimes I agonise over how I'm going to do something for ages when really, the best thing to do is have a go...and well, make it up as you go along. In the end I used my made to measure dress blocks as a guide - ignoring the darts, knocking off a few inches on the bust and waist and marking in new style lines as required. I have drawn in tabs along the waist line and the only place I have put seam allowance is on the side seams - all the other edges will be finished by bias binding.

Tuesday 6 July 2010

Panniers 1755


I have started to make a set of panniers. I cut my pattern for this with guidance from 'The Evolution of Fashion' by Margot Hamilton Hill and Peter Bucknell. They are quite hard to take a photo of because they are so huge, this is just the front! The curved dip at the top in the middle will be gathered to the waist with ties. It's hemmed and all the raw edges are finished. I am currently at the stage of sewing the tapes in place which will form the channels for the boning.

Saturday 3 July 2010

Tudor Hiproll - finished.


My finished hiproll. I stuffed it as firmly and evenly as I could - it helps to have a knitting needle handy. Then I hand sewed the end with ribbon tie in situ.


It's been a really fun and satisfying little project.

Thursday 1 July 2010

Tudor Hiproll


My 'Mary Boleyn dress' needs a moderately sized hiproll to give it the correct silhouette. After a bit of research I decided to aim for the size commonly seen around the 1560s. I cut my pattern for this by first drawing a circle with a circumference measuring the same as my waist. From here I drafted in the shape of the hiproll, it's 3.5 inches wide narrowing to 2 inches at the ends. I also flattened the circle to an oval shape to better fit my figure.


Then I traced off a copy of the pattern and added seam allowance. Once cut out it's ready to lay on fabric.


This is how it's looking so far, i've bagged out the edges leaving one end open for stuffing.

Sunday 27 June 2010

Finished reverse applique


I have finished the reverse applique cutting for this sample for the Mary Boleyn dress. I'm fairly pleased with it although it needs sequins and further embellishment but I have doubts about producing a full skirt panel and it still be in one piece at the end. I may have to look at other options like simplfying the design so that it is less fragile. Or I could search for a fabric with a similar motif and work the embellishment over the top.


Also just a quick update on my muslin chemise to show how its looking so far. The bodice is almost done and I will be sewing it on soon.

Wednesday 23 June 2010

Tudor muslin chemise


One of the pleated 62" panels of skirt.

I decided today was "get a move on with that chemise day"! I began by cutting my muslin into lengths for the skirts. It's empire line and I want it to be really full and floaty so I am using three lots of 62" width fabric. I pleated each section and hand stitched it all firmly into place. I have sewn the three panels together down the side seams leaving the centre back open at this stage. The next step will be for me to work on the bodice which will come together in a similar way. I am planning to add a gauzy trim to the neckline for extra prettiness.

Tuesday 22 June 2010

Snip, snip, snip....


Just a quick update to show how the reverse applique is coming along. Its fiddly work but its so worth it when you see the design emerging.

Monday 21 June 2010

Reverse applique - the next steps.


After much tedious stitching made even more tedious when my machine embroidery foot broke (grrrrrr) the design was finished. You can see how I have followed the design on the paper.


Next comes the fun part - ripping the paper away!!! Its one of those really satisfying jobs. I use a seam ripper to get the little bits of paper out of the nooks and crannies. If I have time tomorrow I will begin the process of cutting away parts of the design but for now you can see the stitched (paper free) motif.