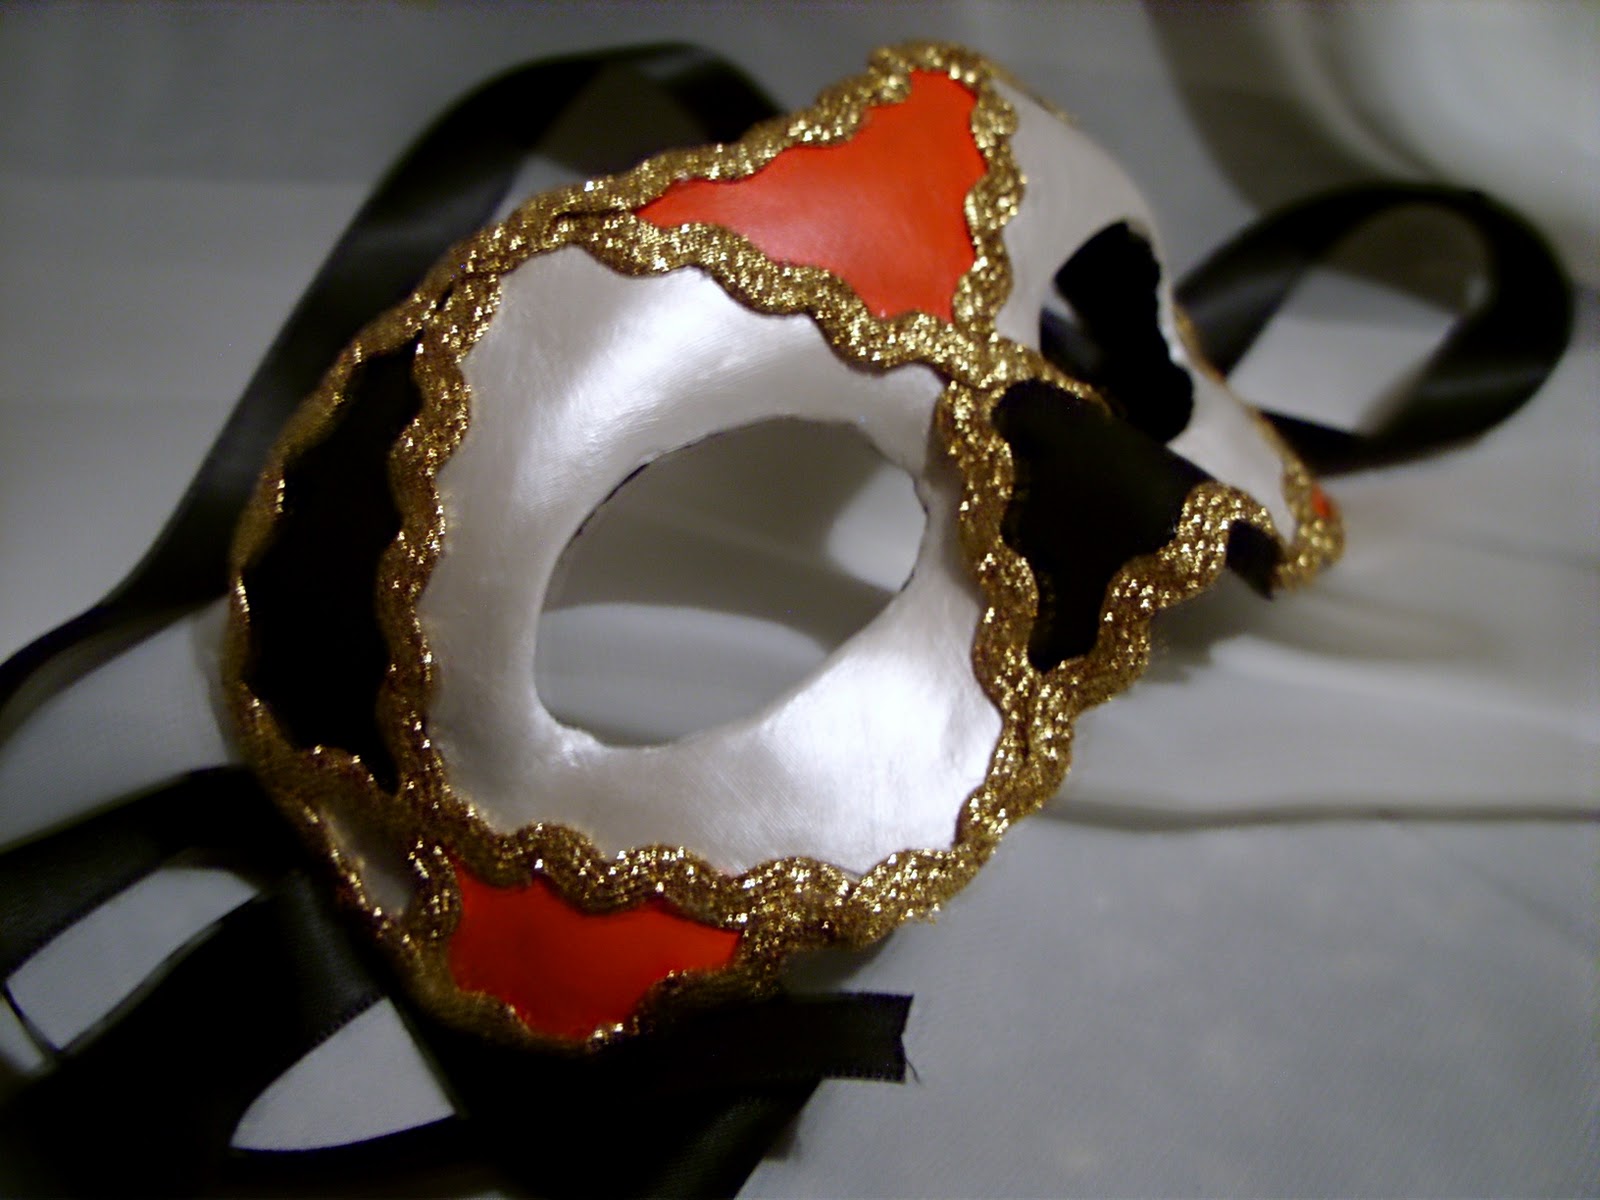
Here's what to do once you have your thoroughly dried and set plaster of paris mask. The next steps are almost as messy so continuing on......
Step 6. Dollop out some of your acryllic repair putty, a little goes a long way. Using a sponge gently apply this to the mask in small sweeping motions, working it onto the surface. The main idea is to fill in the gaps and build up a thin layer onto mask. Some parts may need a bit more filling, for example the bridge of the nose and the slopes down towards the eye holes. At this point it's not going to have a smooth surface. Leave to dry, ideally overnight.
This is what the mask looks like after the putty has been applied and left to dry. As you can see it's hard to get all the lumps, bumps and holes filled in with just one layer of putty so just give it a good overall coating and don't worry too much.
Step 7. This bit requires elbow grease, a piece of course sand paper and quite a bit of patience. Smoothing the surface takes time as you still need to be gentle, if you are too rough the mask will weaken. I found that holding it firmly, directly underneath the part you are sanding, helps to support it and prevent damage.
Step 8. You will get to a stage where many parts of the mask are wonderfully smooth but others are riddled with holes, dimples and rough spots. At this point it's time for some more acryllic putty however I would now advise applying it with a plaster knife or pallette. Target just the holes and divots. You can also use it to sculpt around any wonkey bits - smooth around the eye holes and outside edges. Leave to dry.

I have painted the mask white here, purely to show how I applied the putty in my attempts to achieve ultimate smoothness.
Step 9. More sanding! Use the course sand paper for smoothing off any harsh lumps and switch to fine sand paper to finish off the surface. I found that the fine paper is really good for shaping the eye holes and edges. You can repeat the process of putty and sanding as many times as you need to get a smooth surface.
This photo was taken after three layers of putty and sanding.
Step 10. When you are finally totally satisfied with the surface of the mask it's time to paint it white. Acryllic is best and you want to aim for around three coats. You can lightly sand after the third coat just to remove brush strokes if you like.
Part 3 coming soon.....